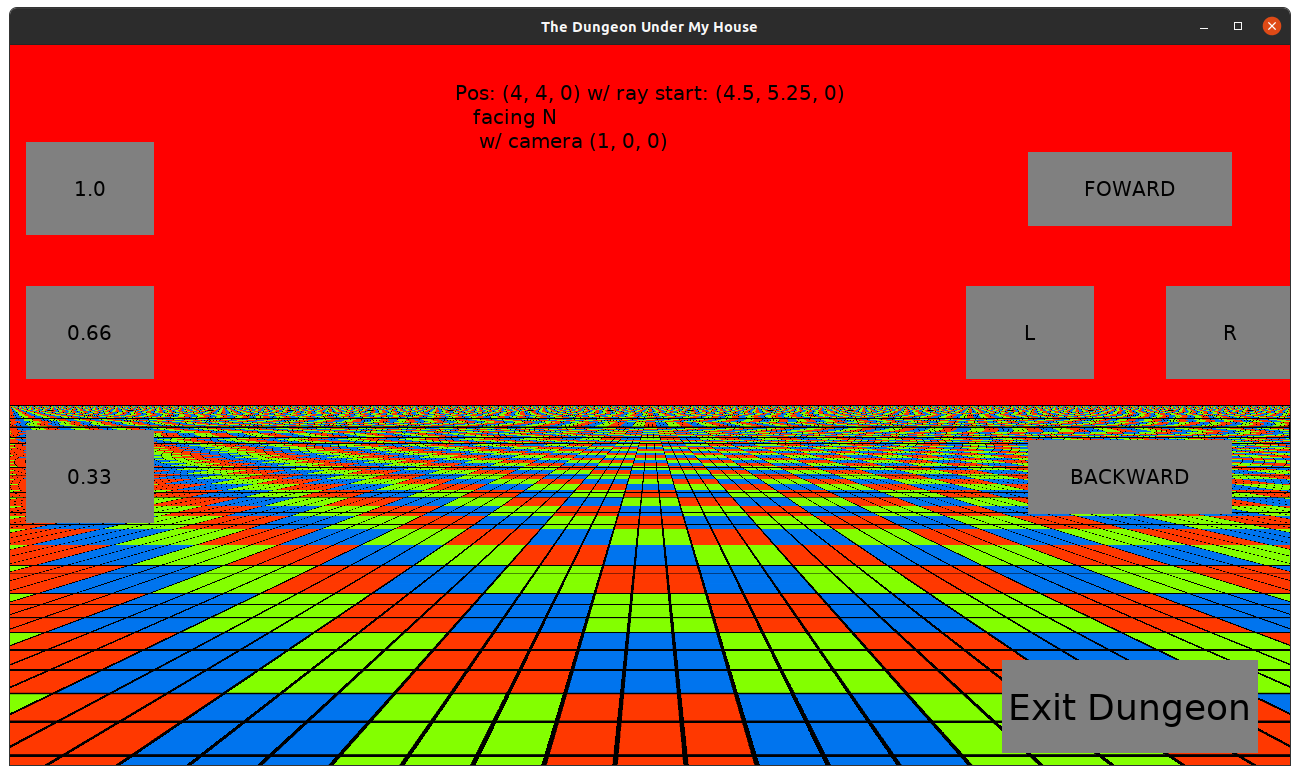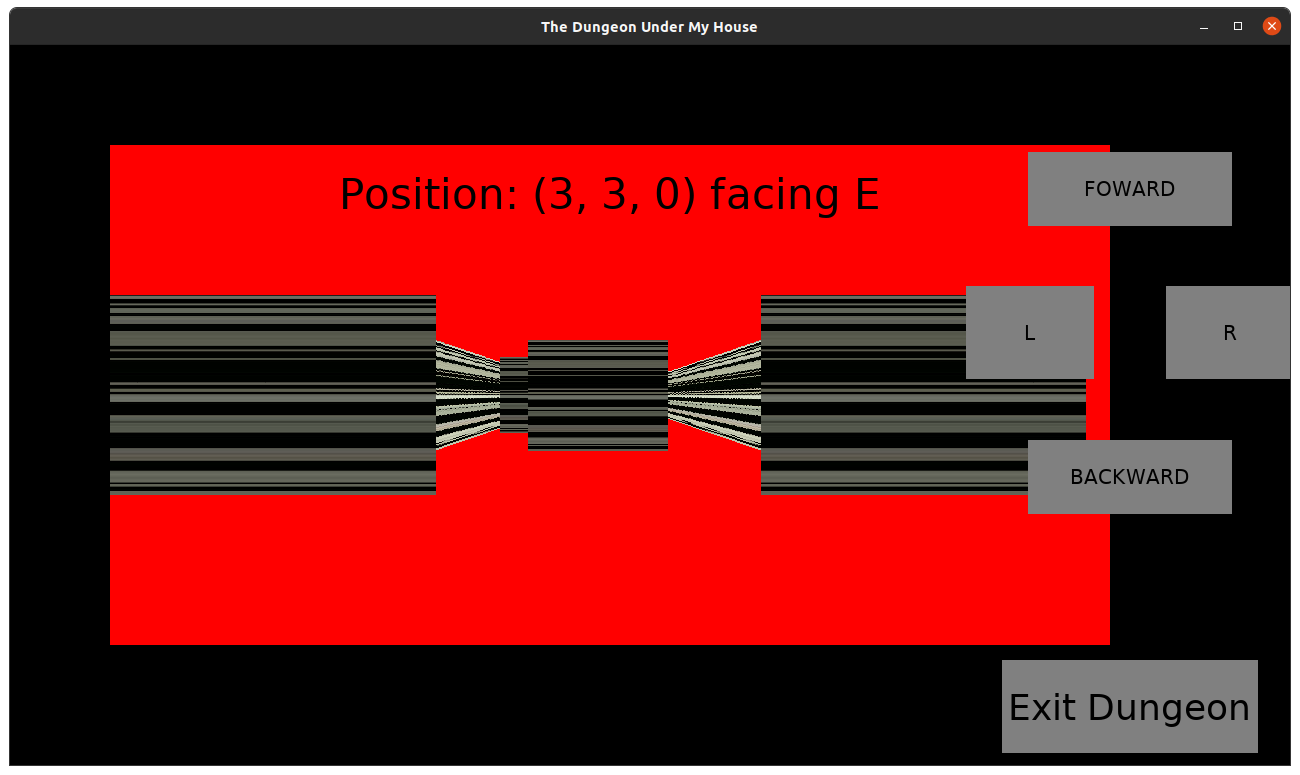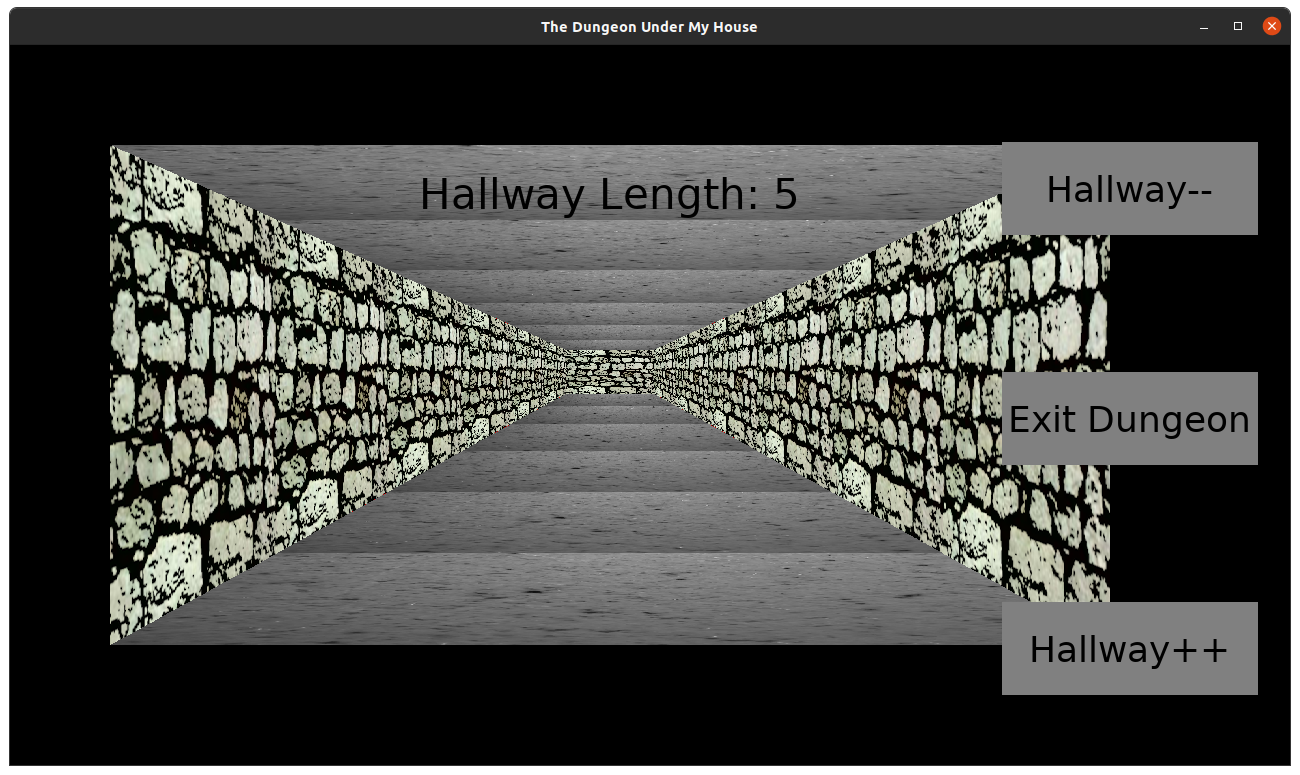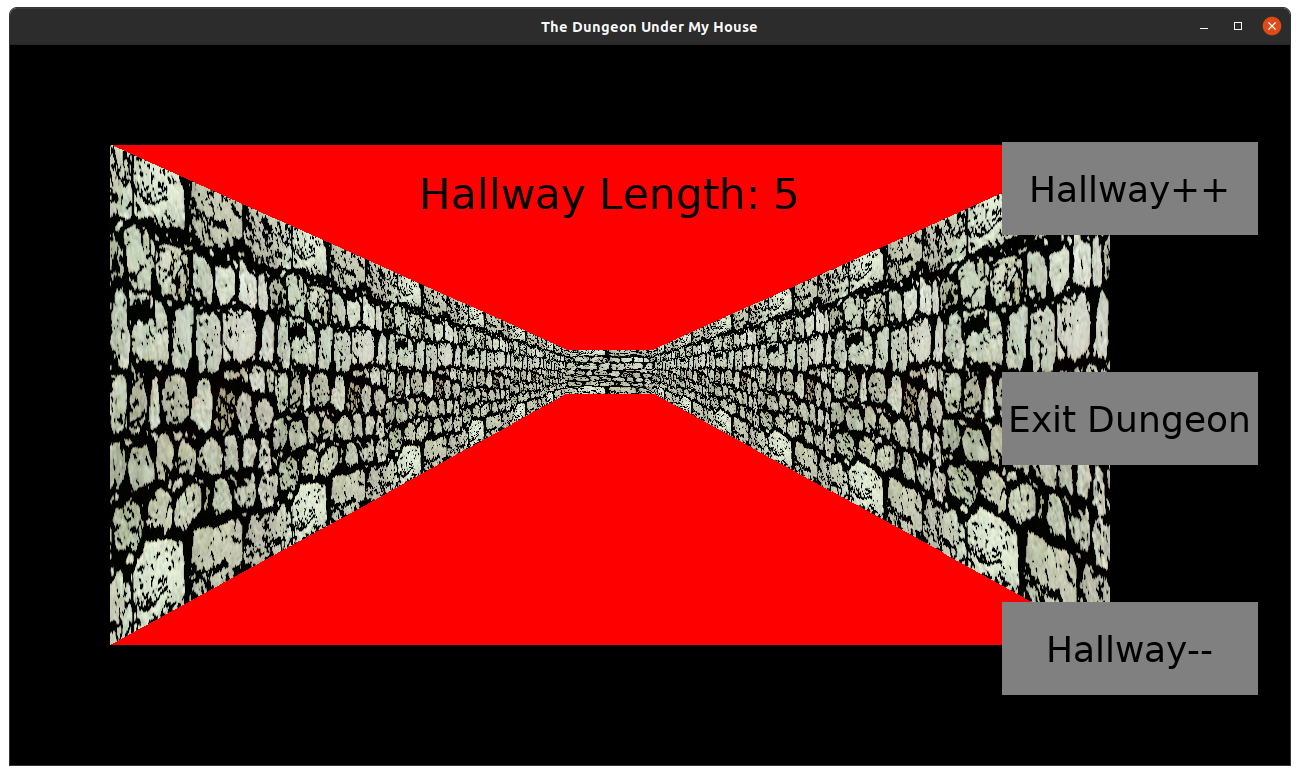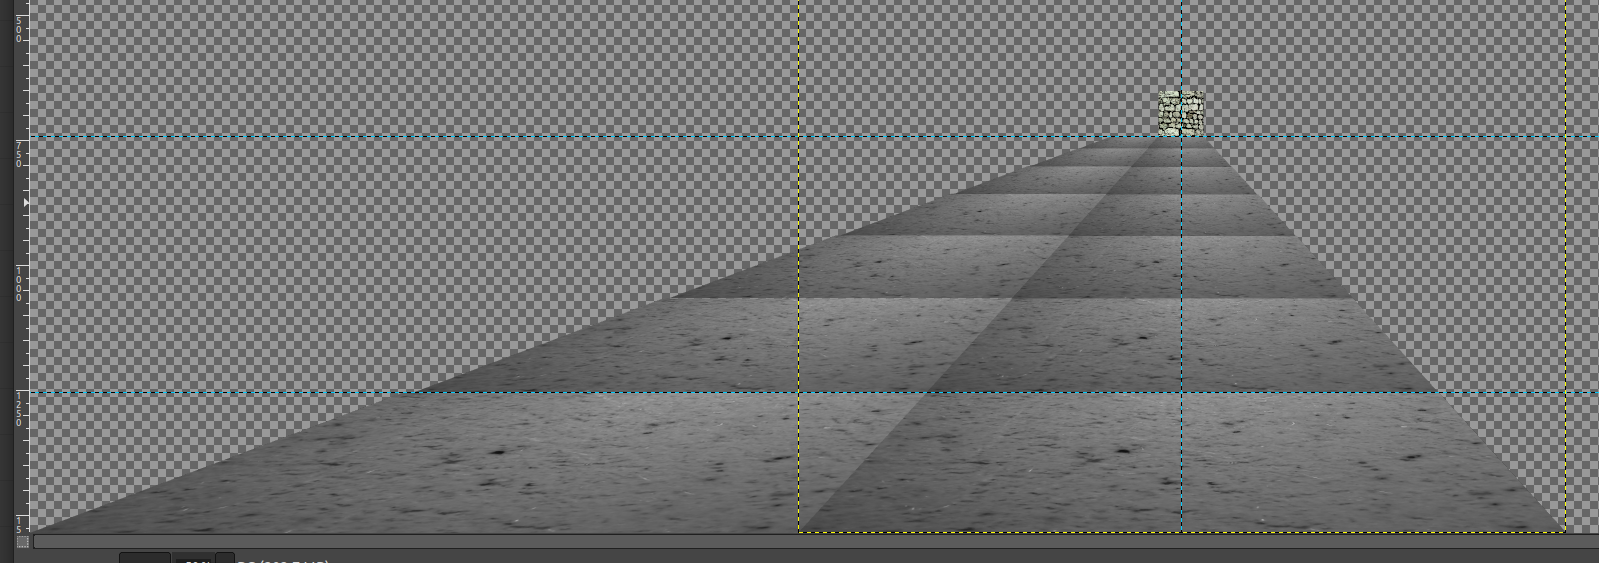
Last week, I reported that I finally figured out what I was doing wrong and could render the floors and ceilings for The Dungeon Under My House, my second Freshly Squeezed Entertainment project.
So next up was getting doors into the game.
Sprints 17: Pre-production and initialization
Planned and incomplete:
- Doors can be opened/closed
Sometime back, I remember reading about a game design exercise called The Door Problem. A quick search online helped me find Liz England’s The Door Problem from 2014, which talks about how a seemingly mundane part of a game can actually be surprisingly complex to design.
A few years ago, Vox did a piece on the challenges of designing doors in games, and months later The Verge did their own piece on how universal is the challenge of implementing mundane things, even in major games such as The Last of Us II.
And I was aware of these thoughts when I started last week’s efforts, and I still thought, “Ok, but it won’t be that bad.”
After all, my game isn’t trying to look realistic. I “just” want doors that can be opened or closed after a menu selection.
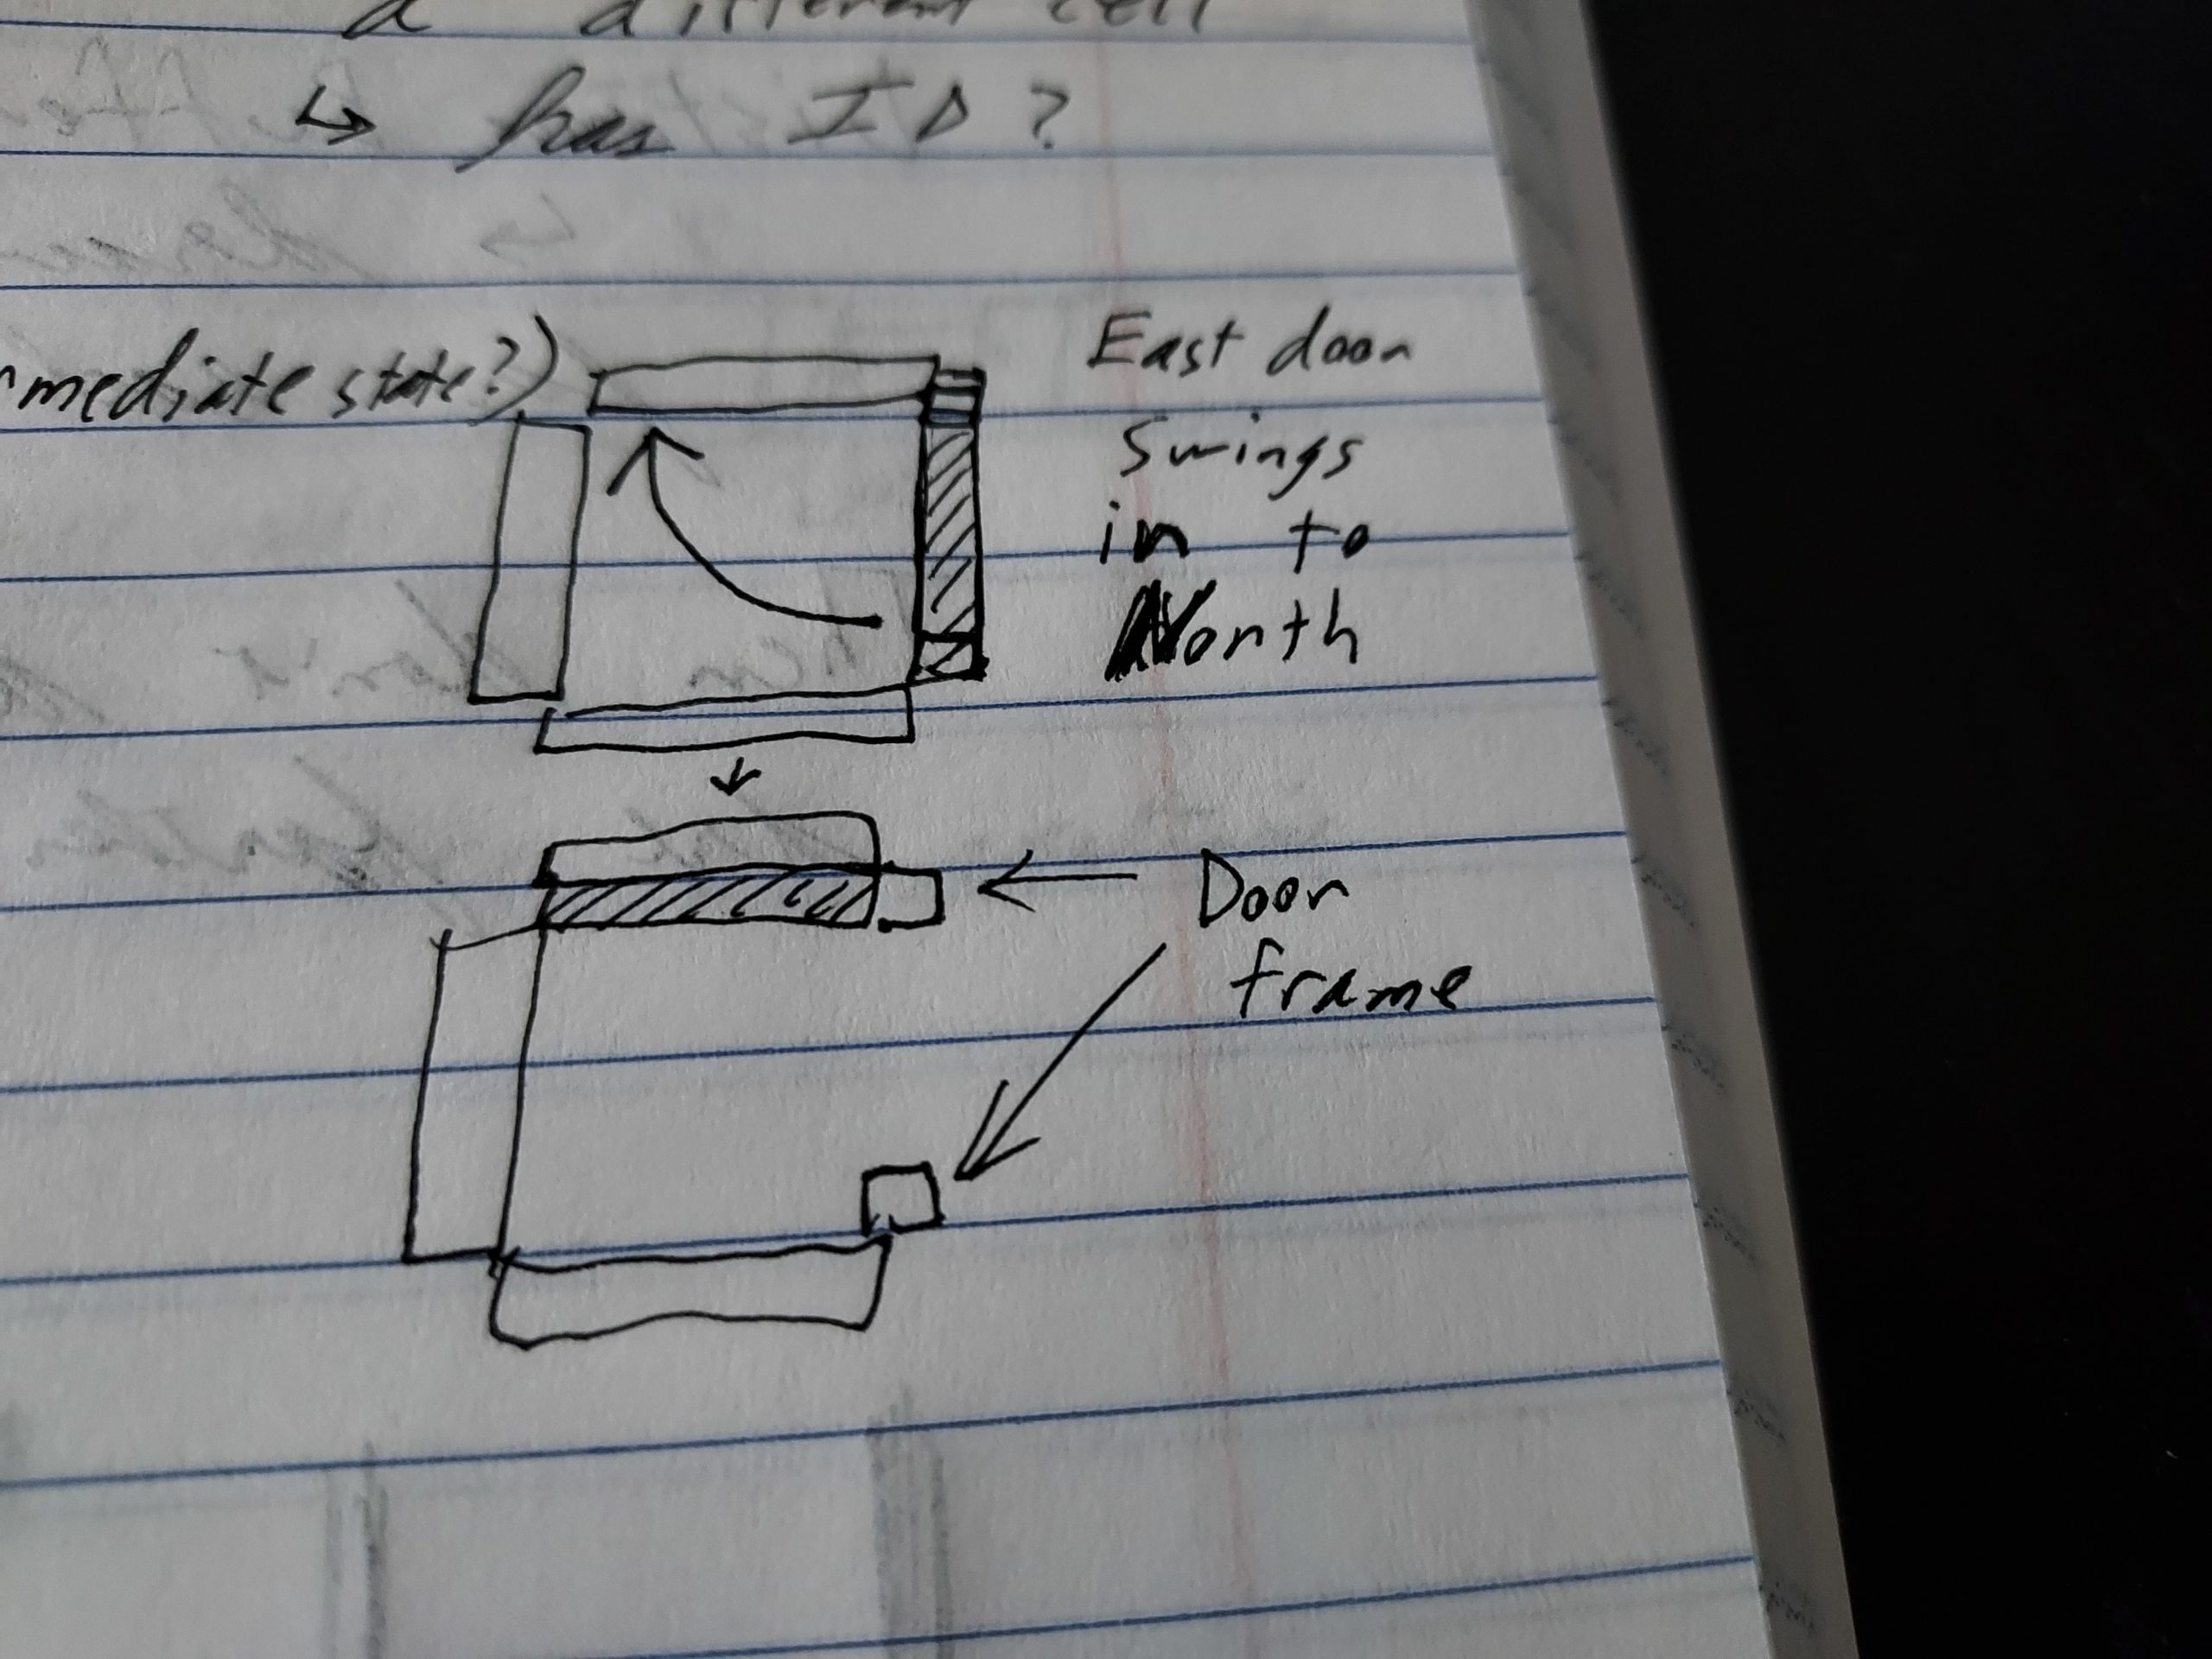
Hmm, doors have hinges, and they can be on either side, so I should have doors that can open to the right or to the left based on where the hinge should be.
Eventually, I do want non-player characters to also be able to open and close doors.
And when a door is open, I want it to act as a barrier, which might be a strategic move the player can make.
And naturally there should be a way to block a door from being opened or closed, perhaps by putting a large object on one side of it.
Wait, let’s step back. There were a lot of things I am trying to anticipate and worry about. Let’s go slow.
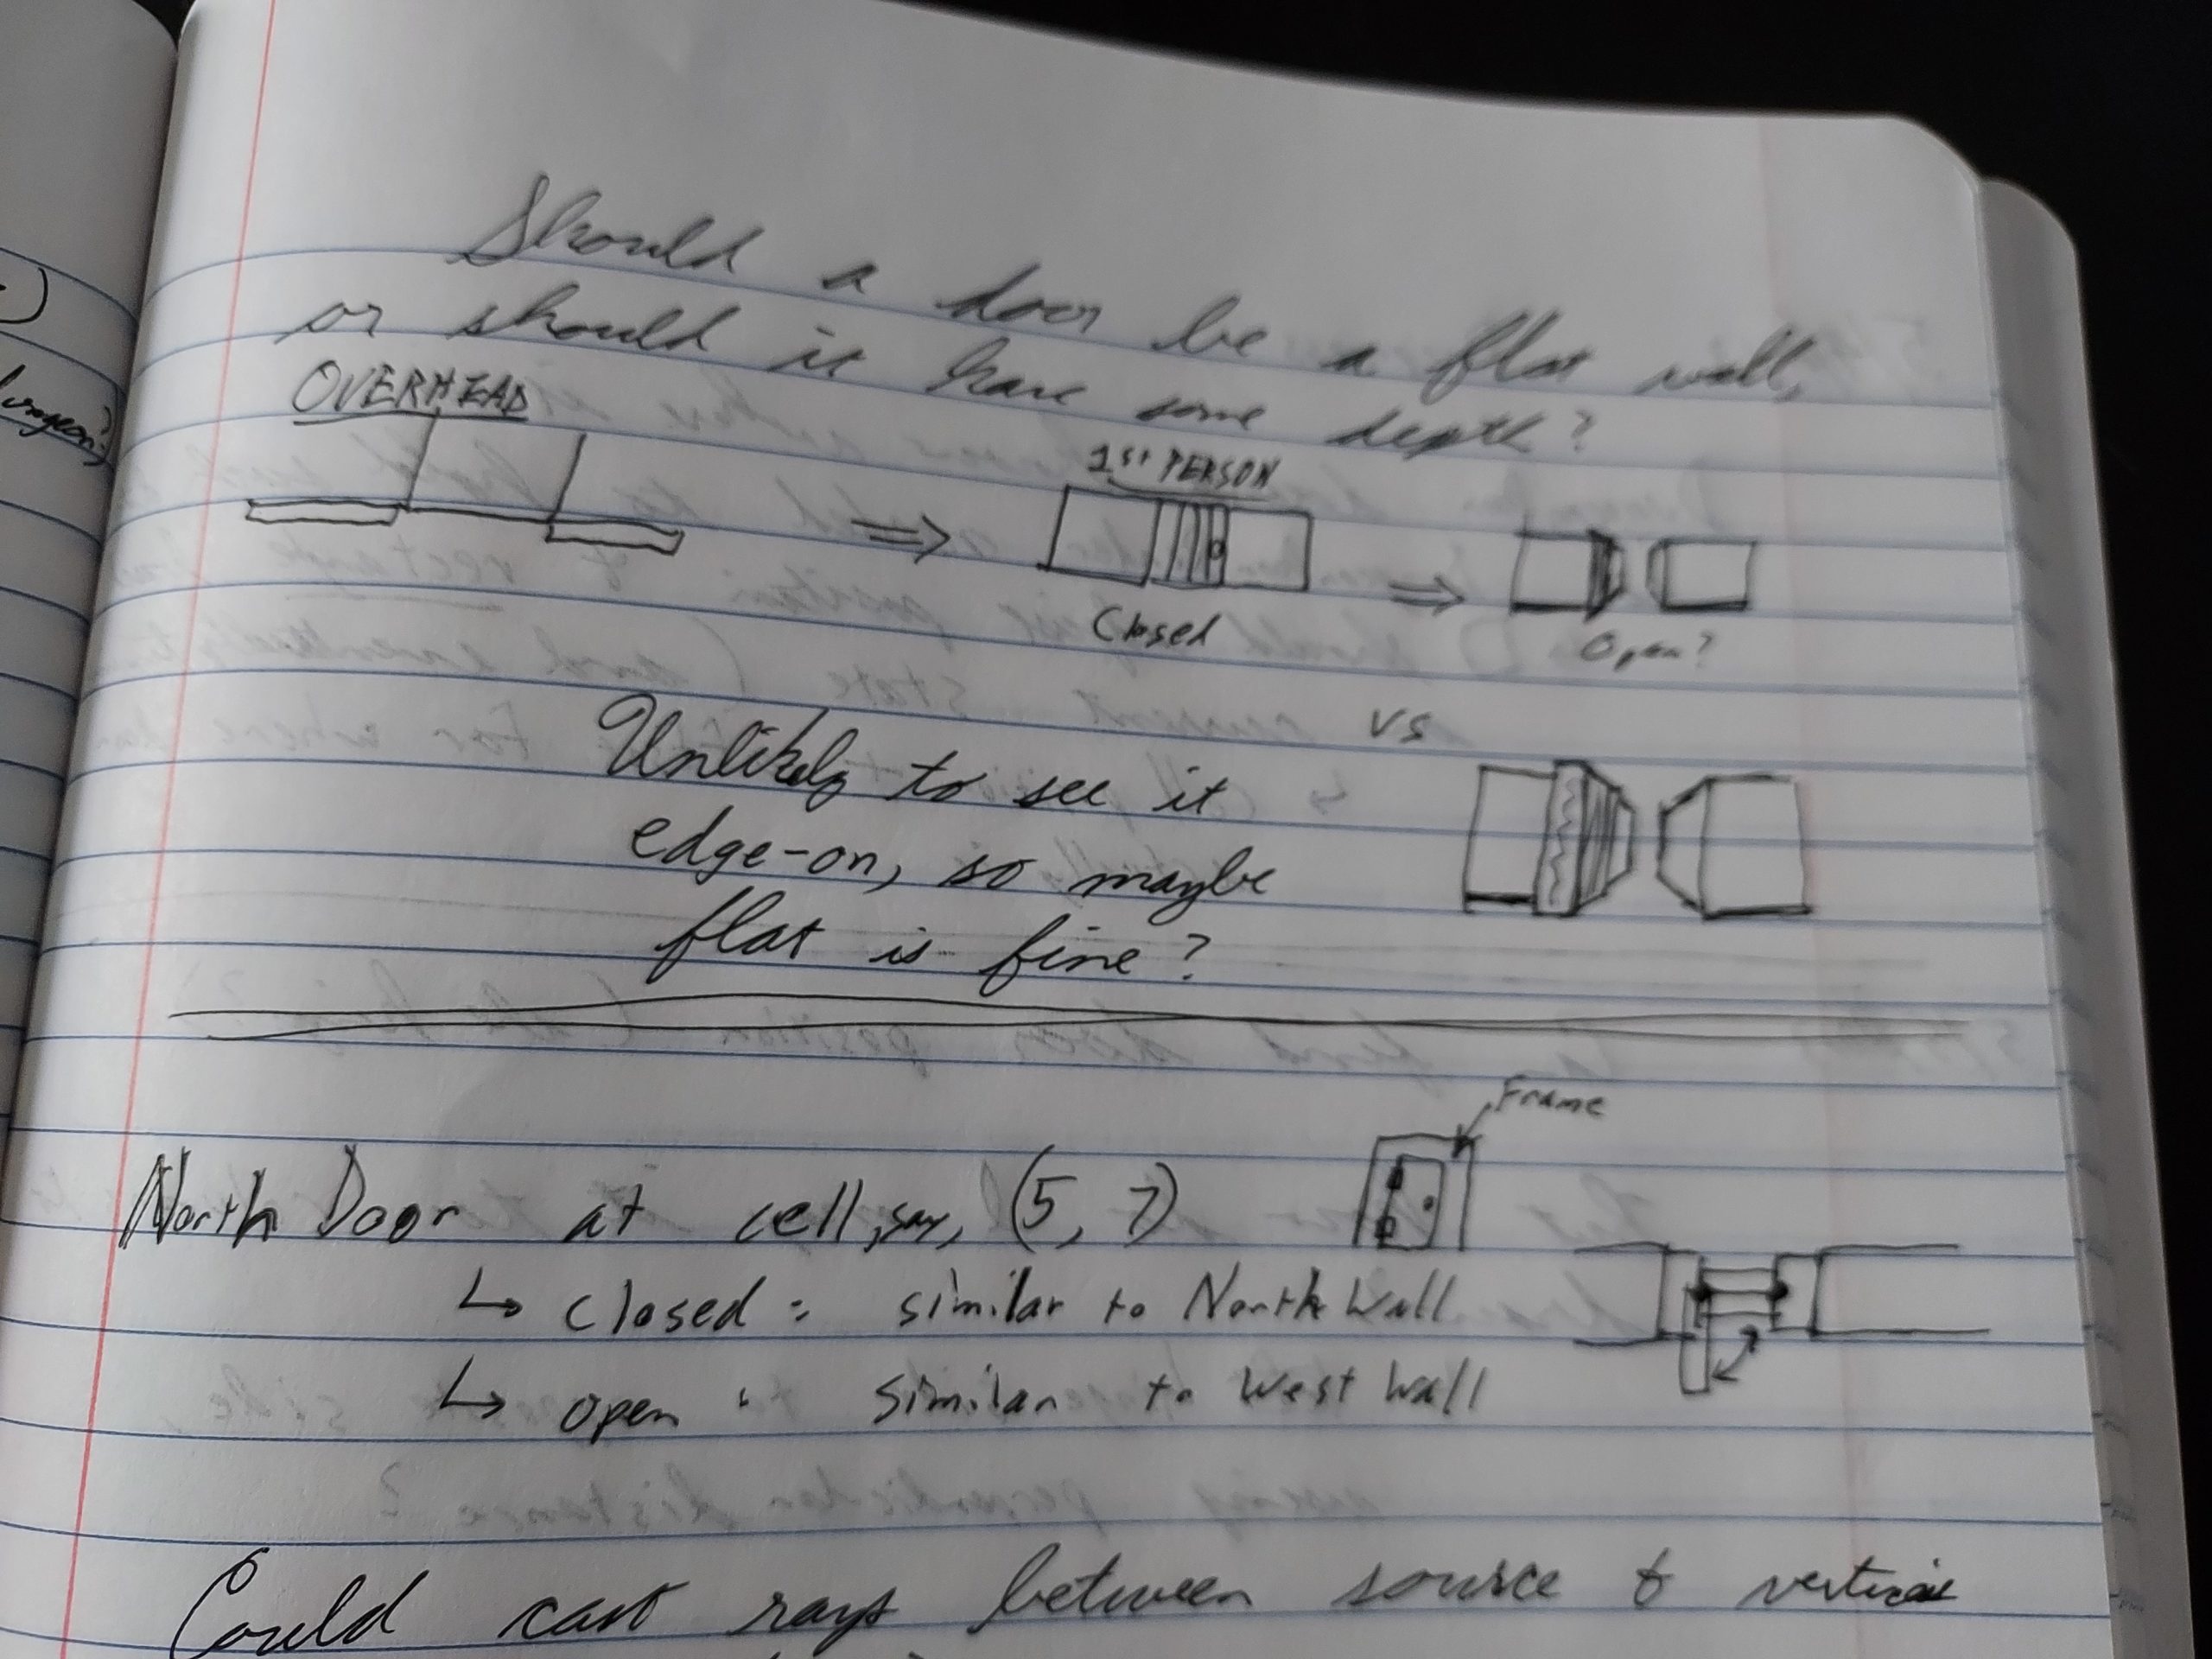
I’m not making a sci-fi game, so the doors can’t just swish open like in Star Trek. They should swing out.
I expect such a door to be in a frame, which means that it won’t take up the entirety of a wall.
But I wasn’t sure how detailed it needed to be simulated. Can I get away with a flat line, or should the door have a little depth so that if it is seen from the side it doesn’t look like it disappears?
Should it swing, or just instantly open or close?
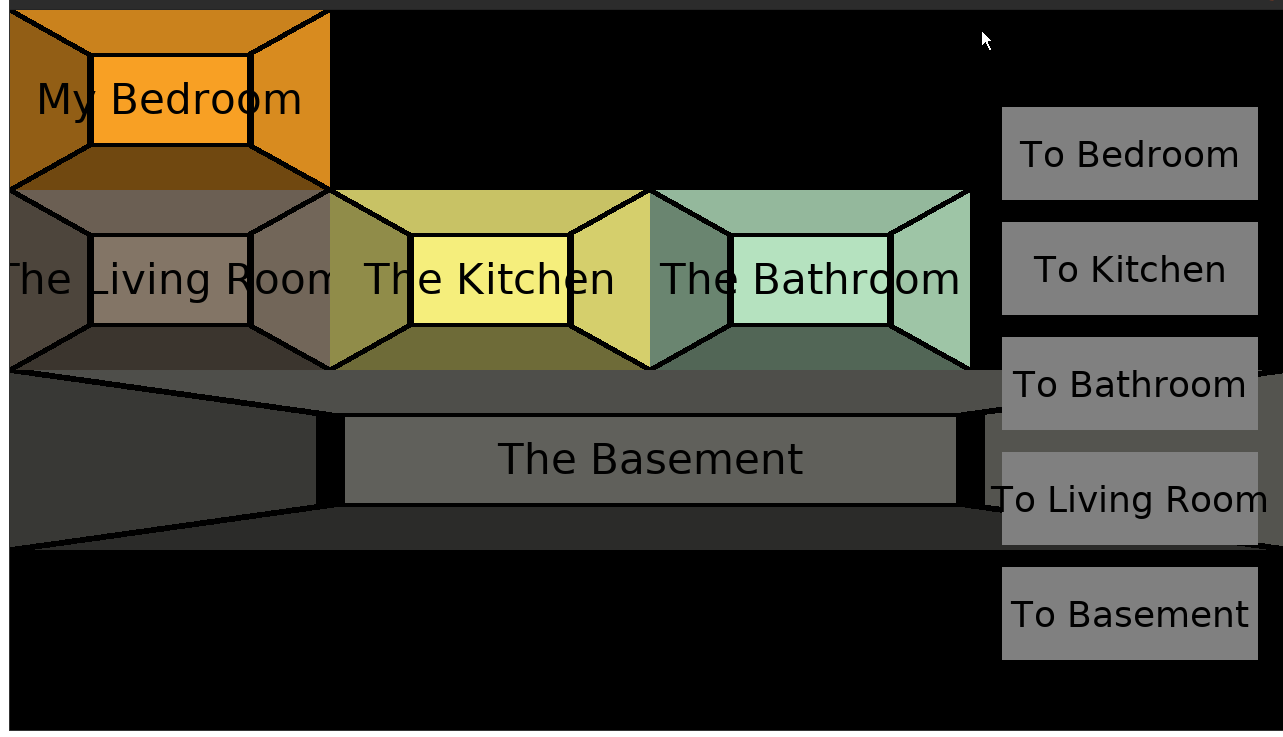
I think it makes the most sense to assign doors to a grid cell. I suppose I could have had doors in arbitrary locations within a cell, but I decided that they should be attached to the four potential walls in a cell.
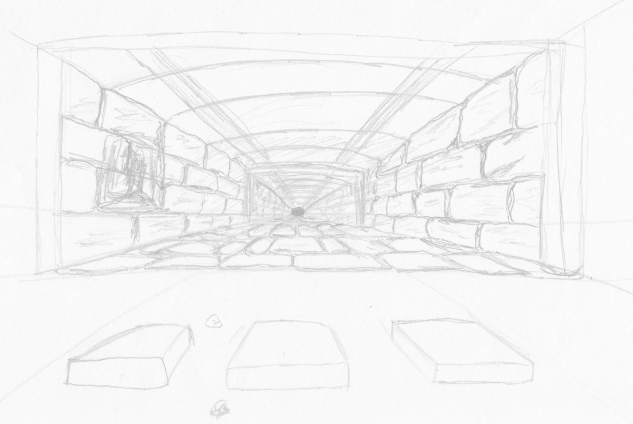
At some point I decided that I just needed to start getting something into the game. My first task was to get a closed door implemented.
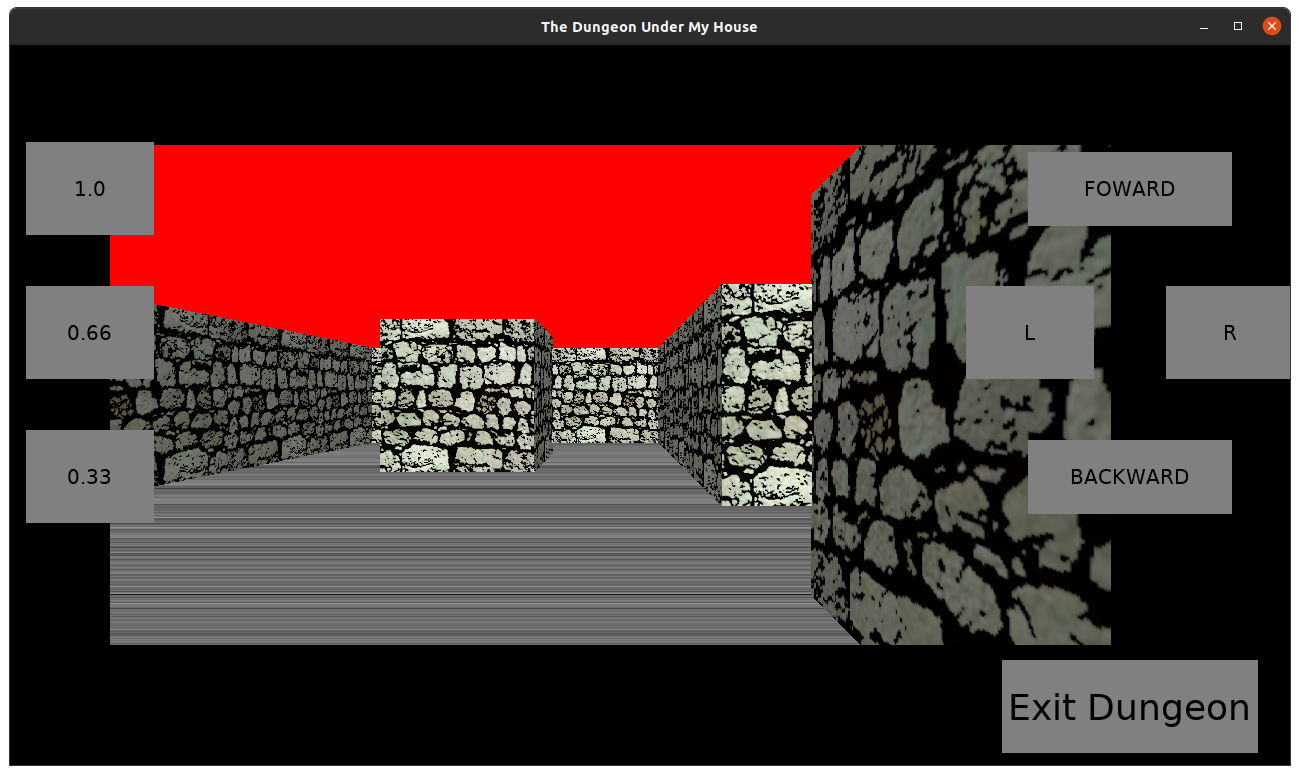
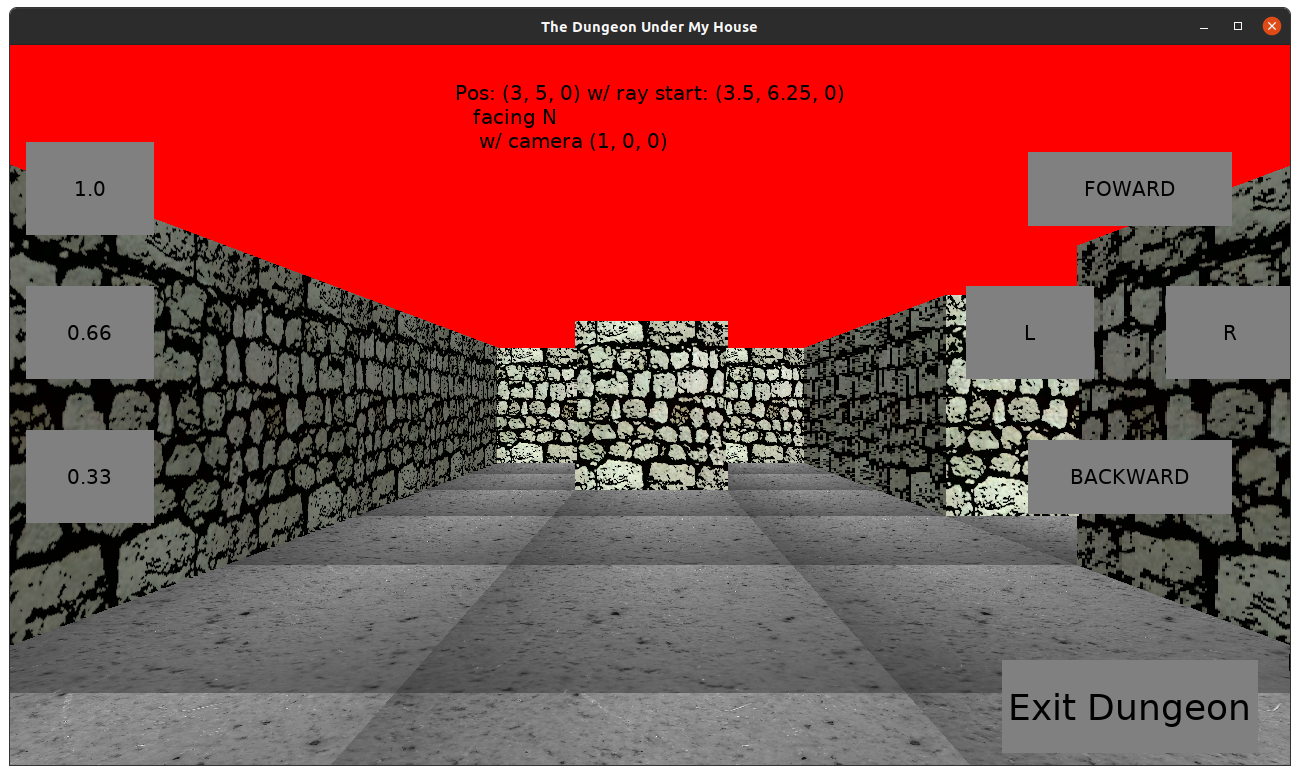
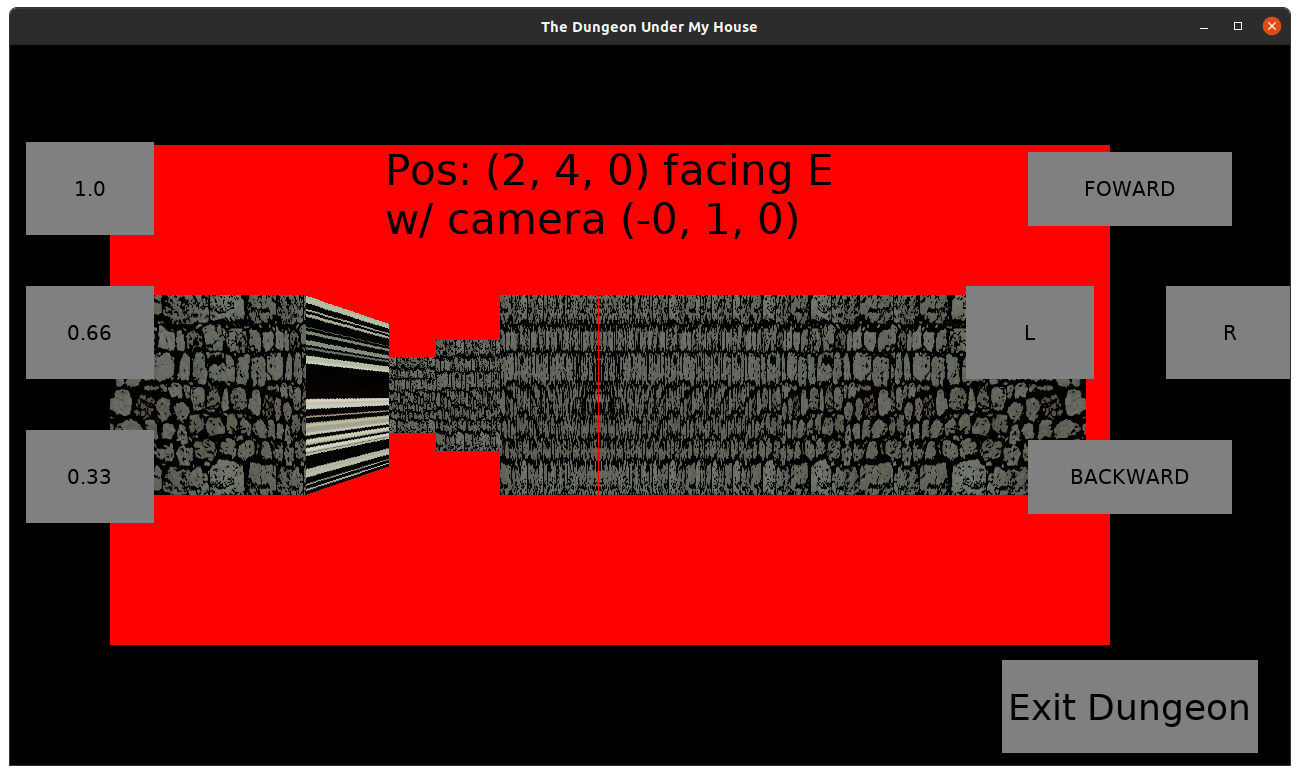
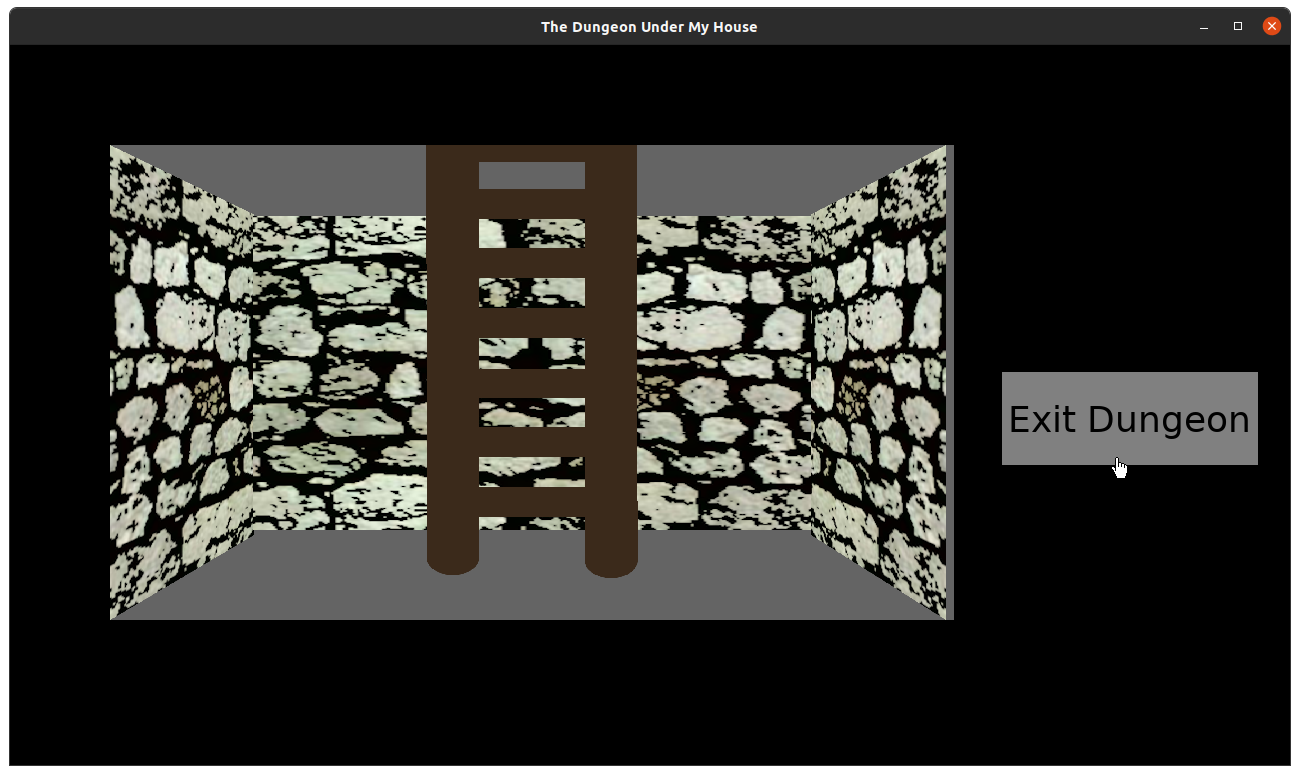
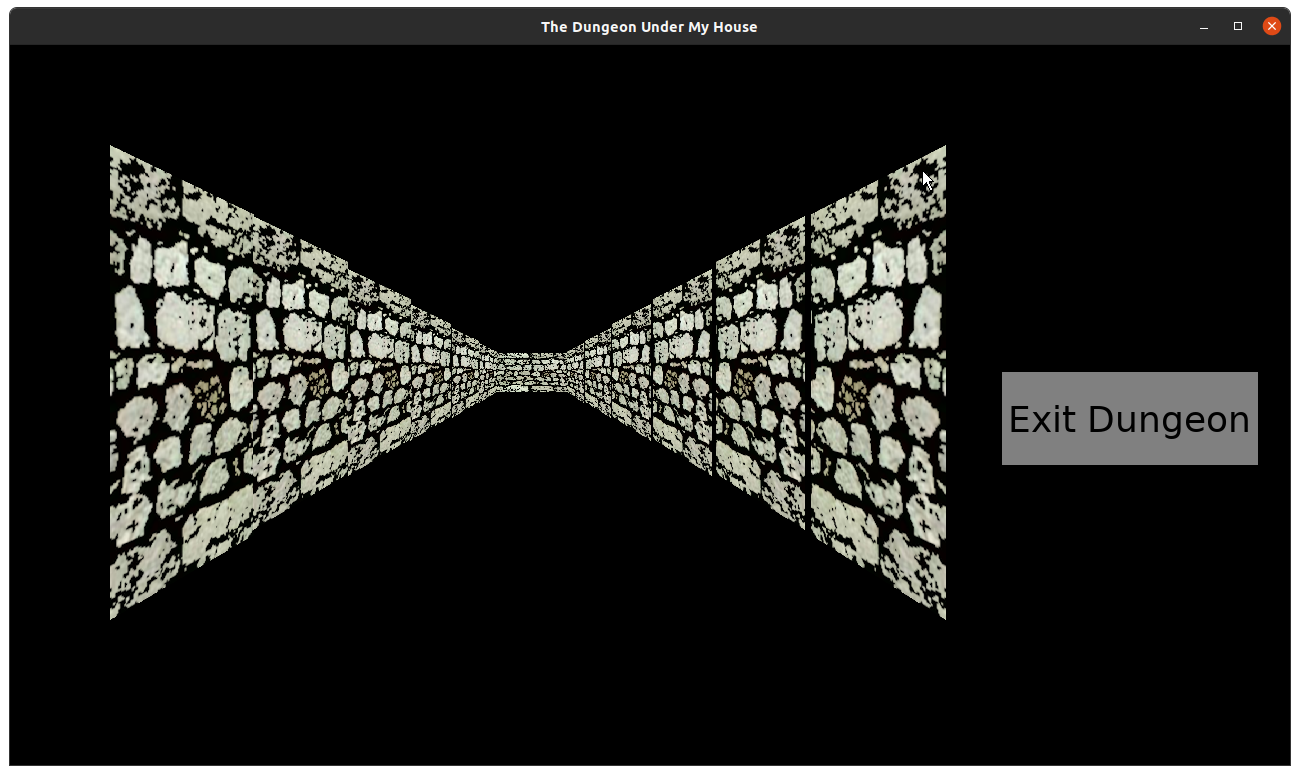
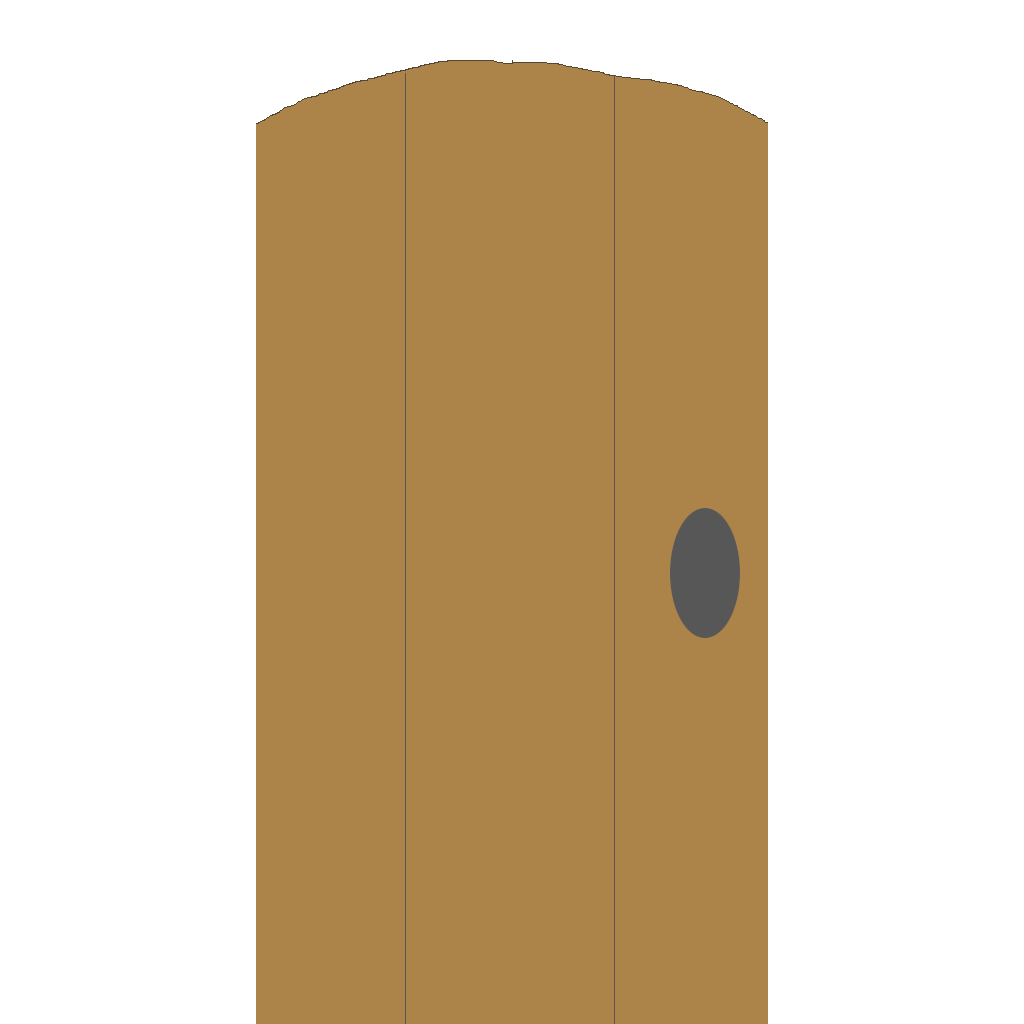
So I mocked up a door and then a new wall type that has a door frame:

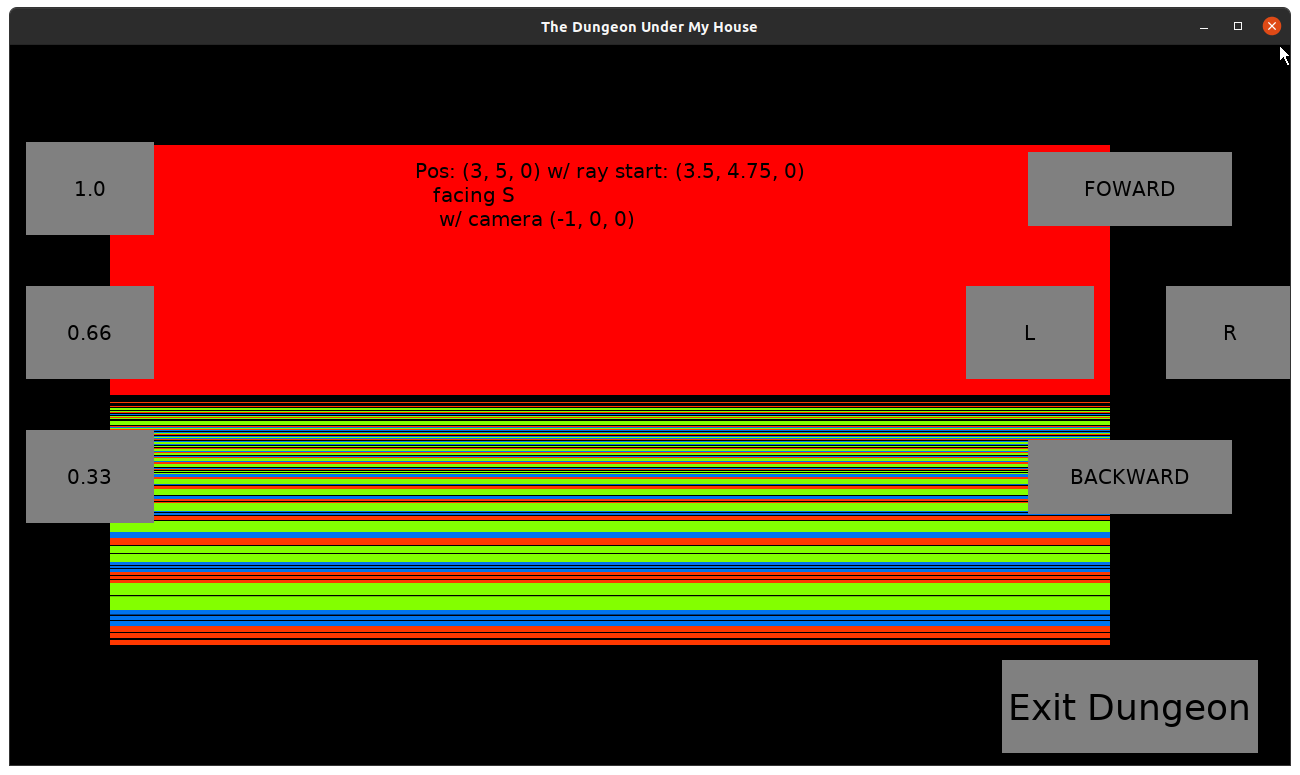
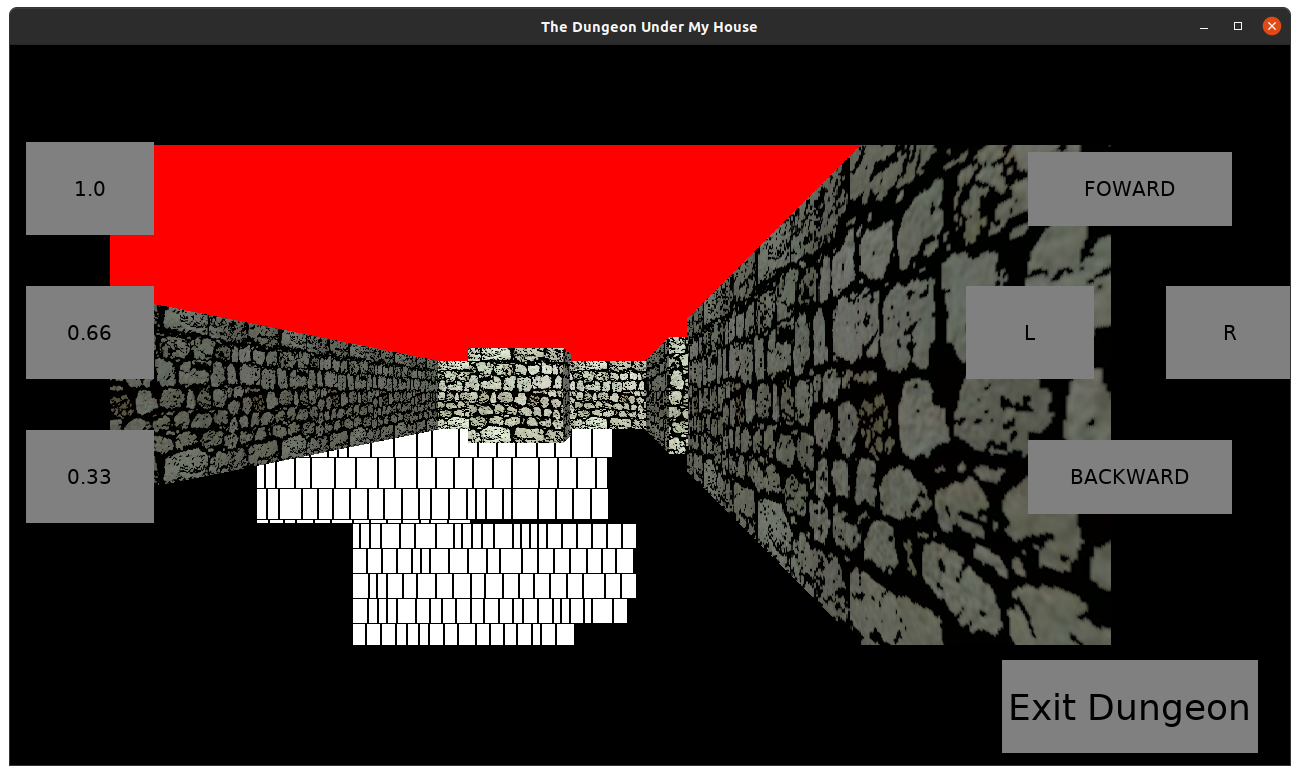
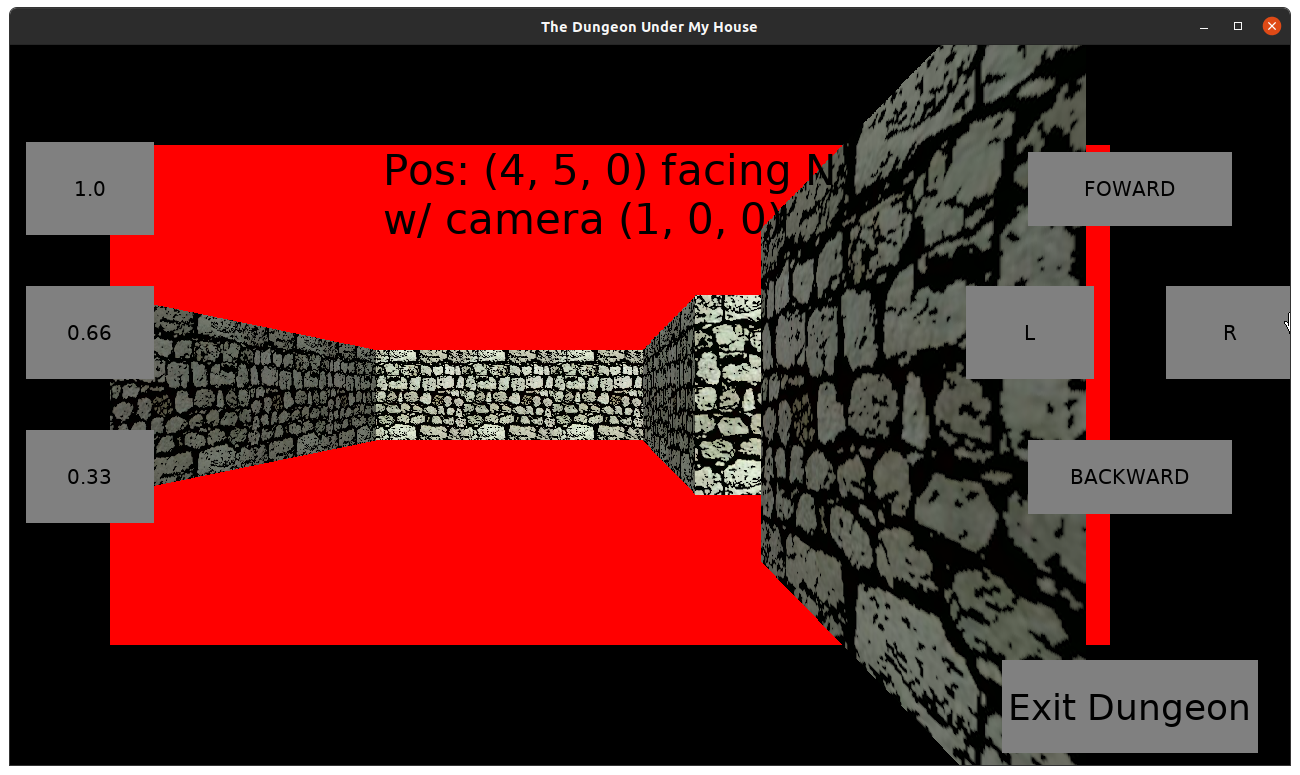
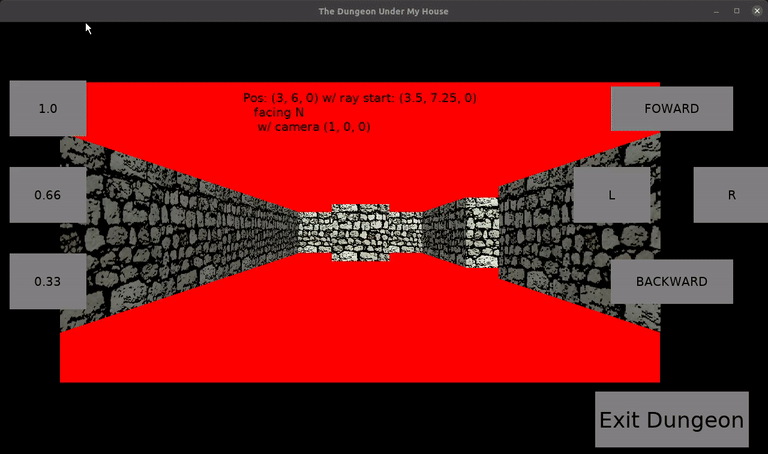
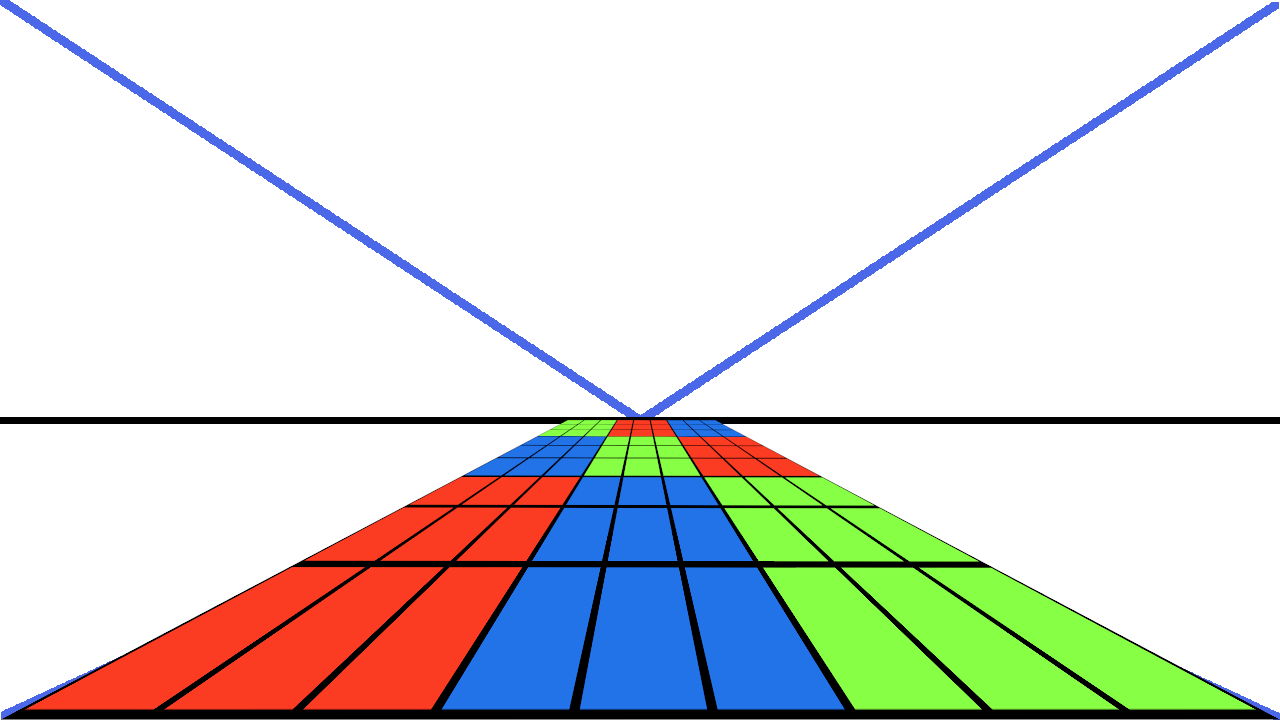
Since my game is using raycasting, a door introduces the technical challenge that the rays up until now have stopped when they hit something like a wall. After all, if there is a wall, you are going to see that wall, and and you would see nothing behind it, which would probably just be a wall that is farther away and thus would be occluded anyway.
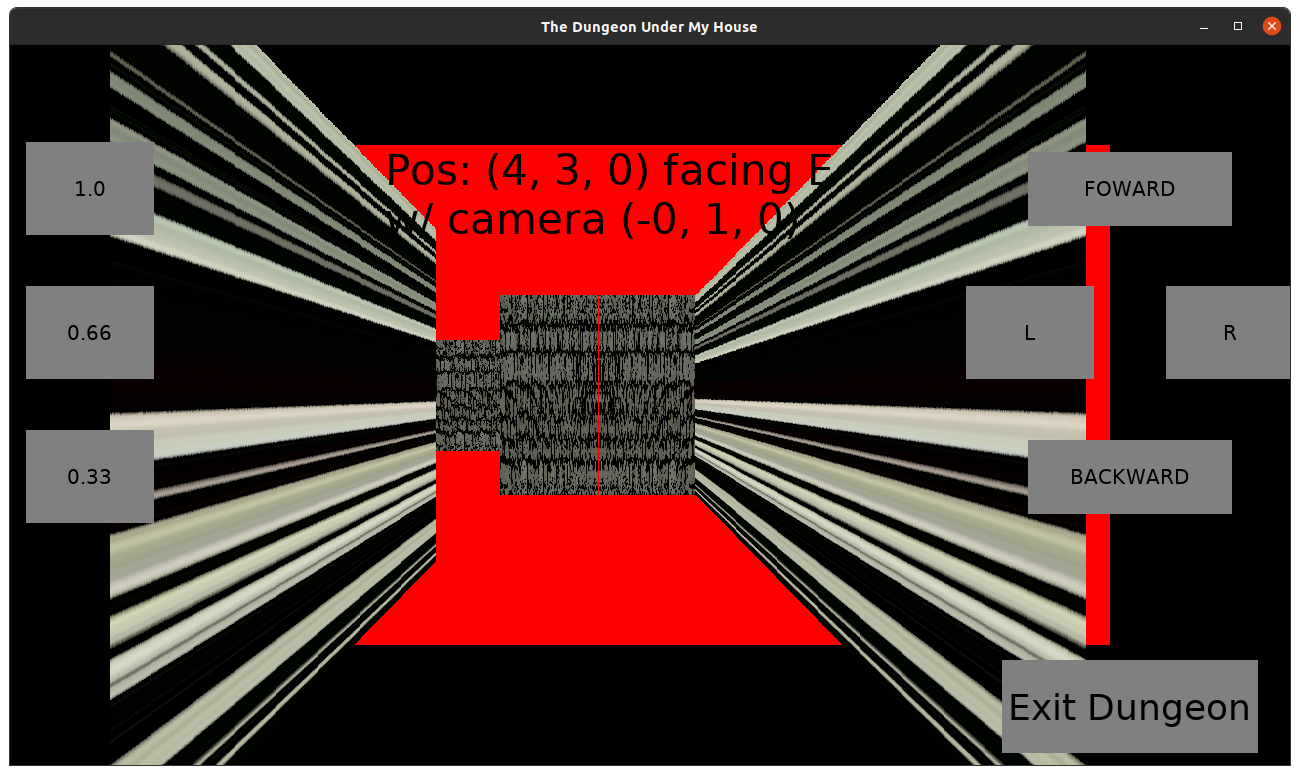
If a door can be open or closed, and presumably animated in between, then I need to draw not just the door but also behind the door, especially since a door isn’t always a perfect rectangle shape. And even if there is no door, the door frame wall type means that I should see what’s drawn behind it, too.
With my raycasting code, the algorithm currently draws all floors, all ceilings, and then draws the walls.
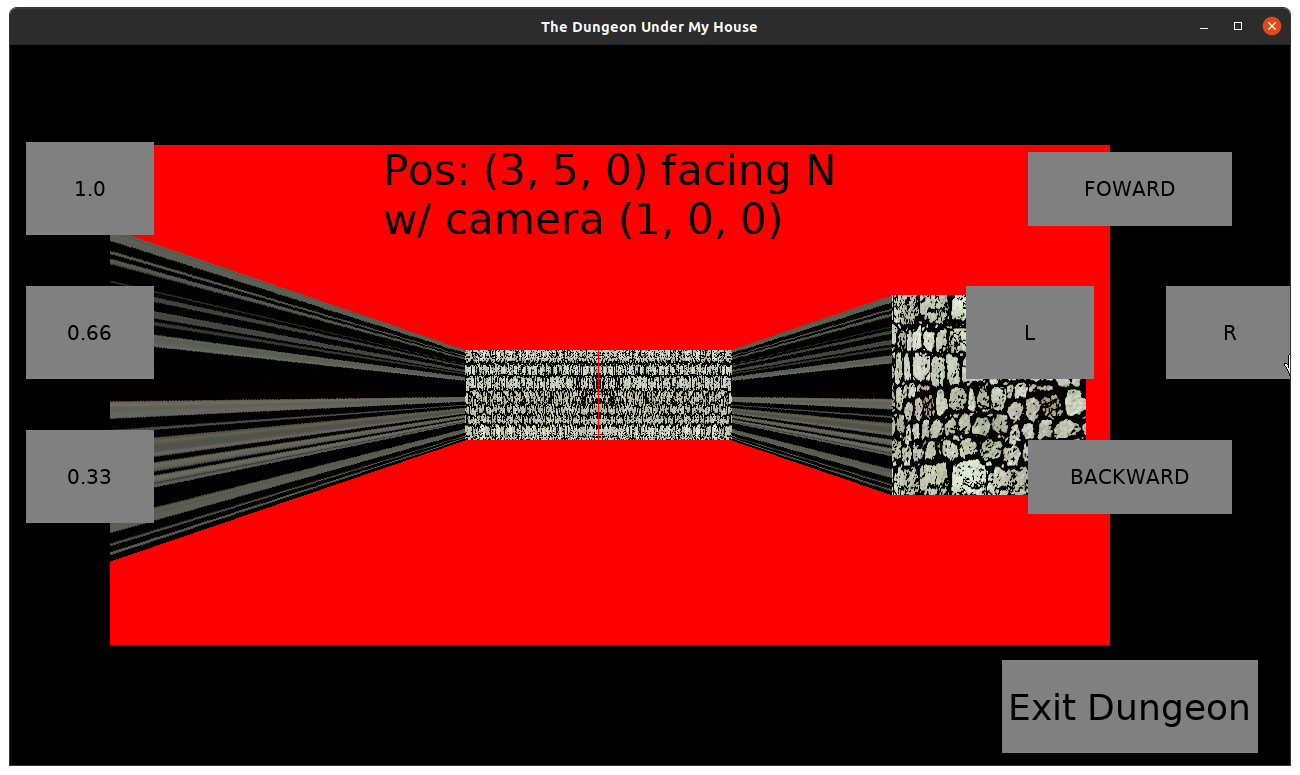
To draw things like doors and other objects, such as windows, that might need to draw the world behind them, my plan is to sort all of these kinds of objects by distance from the player, then draw back to front.
Unfortunately I ran out of week before I finished this implementation, so I am hoping that I can get doors visible in the game early this coming week.
Thanks for reading!
—
Want to learn when I release The Dungeon Under My House, or about future Freshly Squeezed games I am creating? Sign up for the GBGames Curiosities newsletter, and download the full color Player’s Guides to my existing and future games for free!