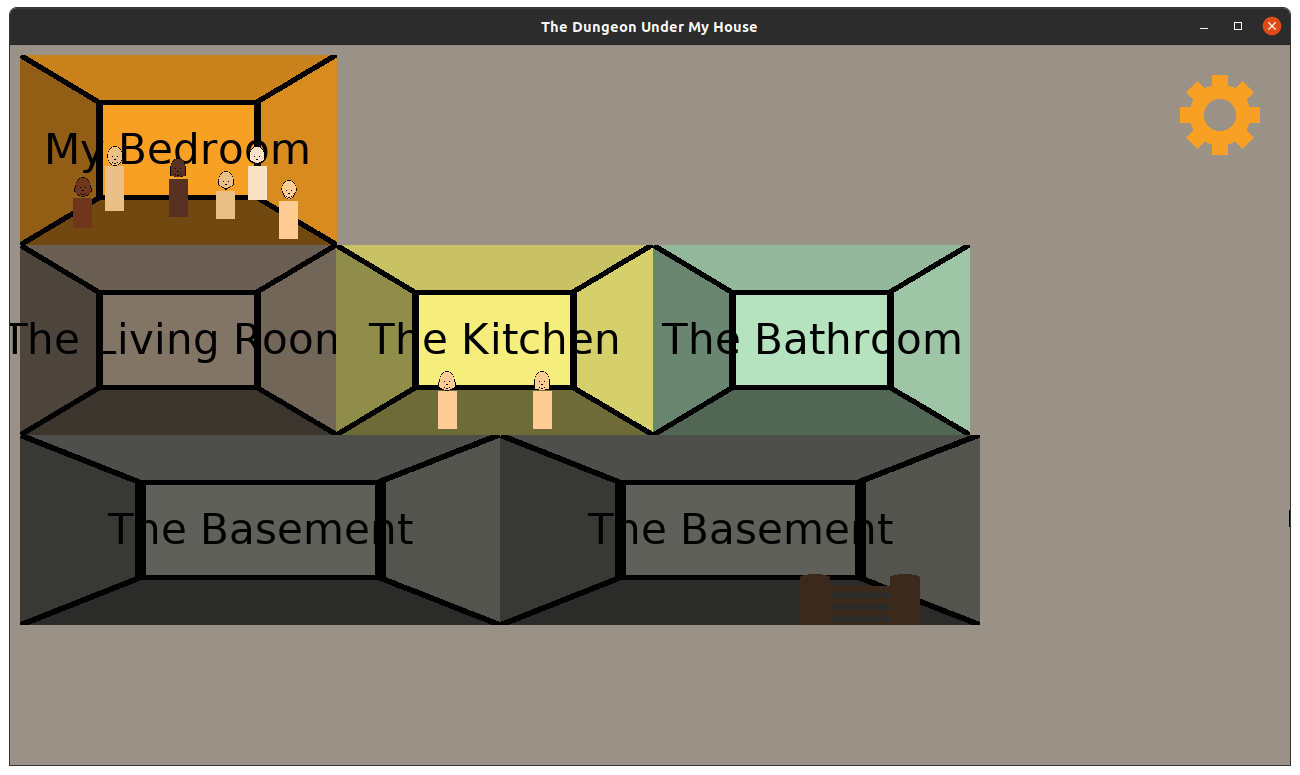
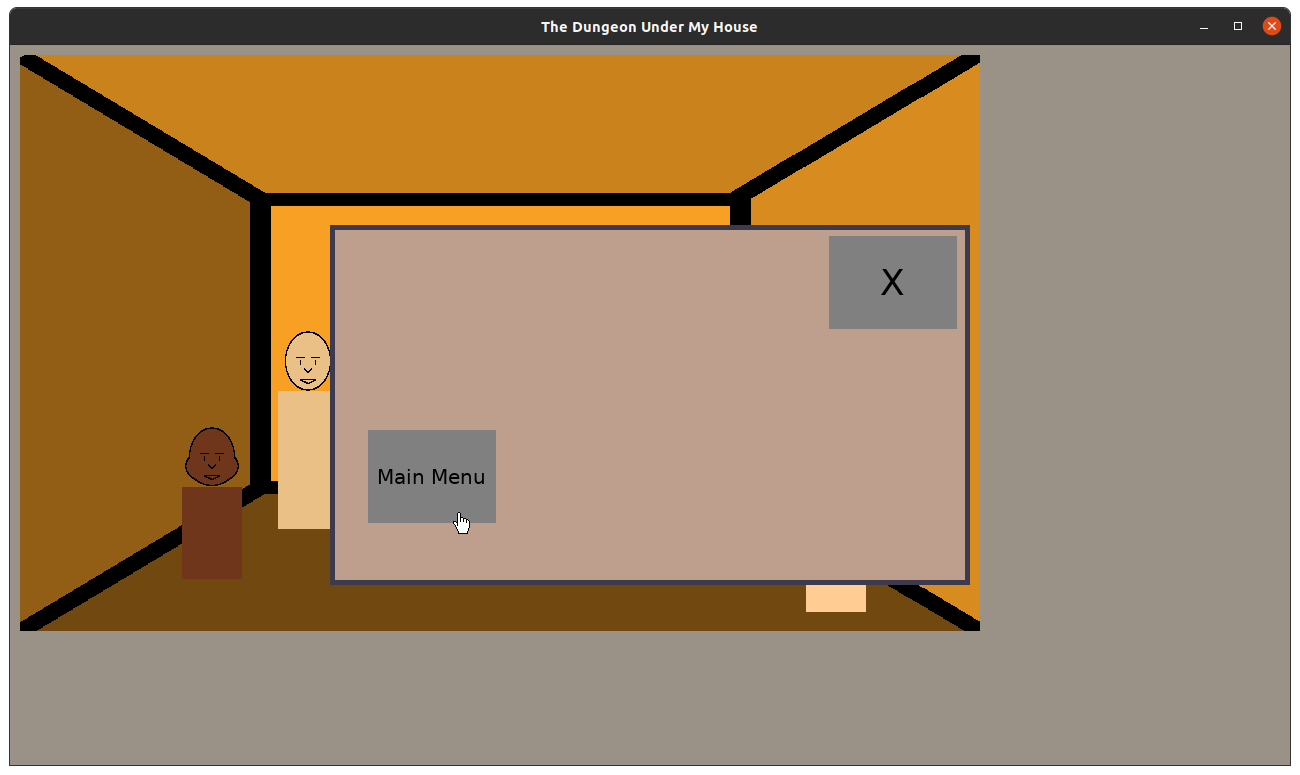
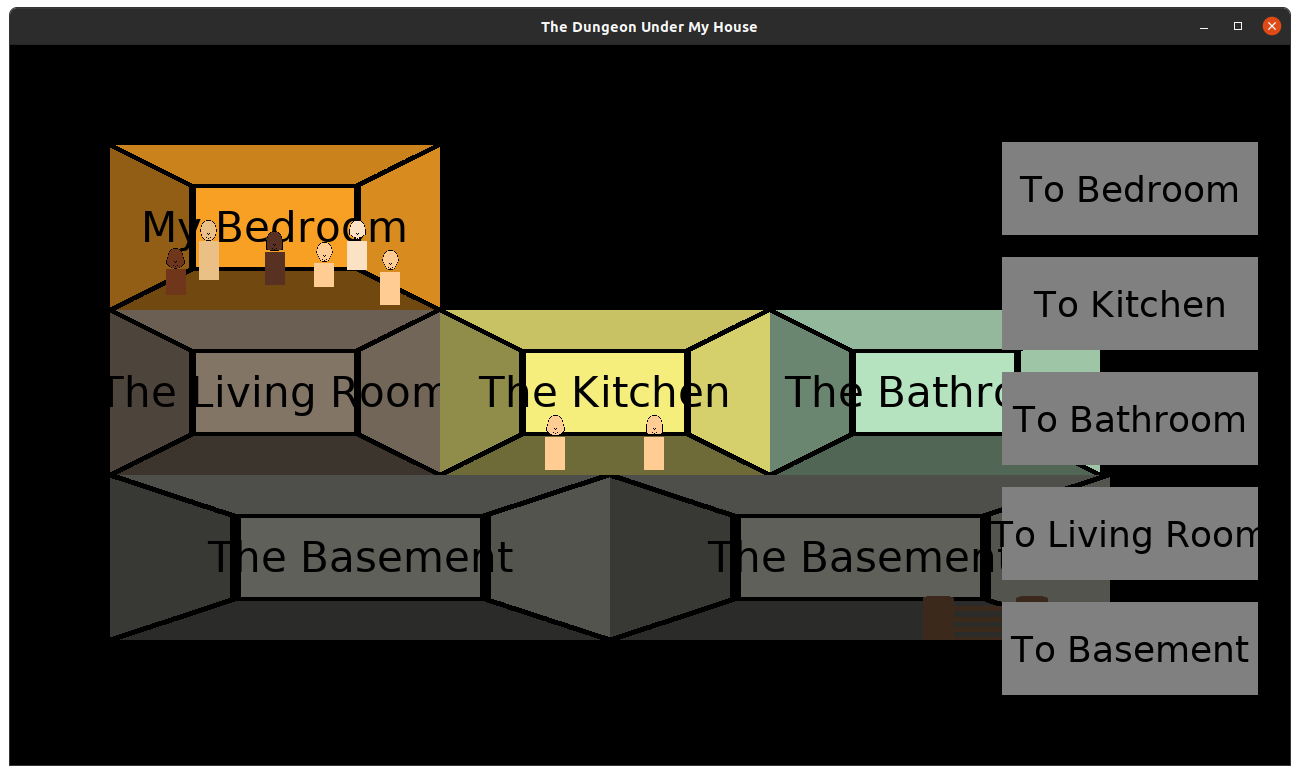
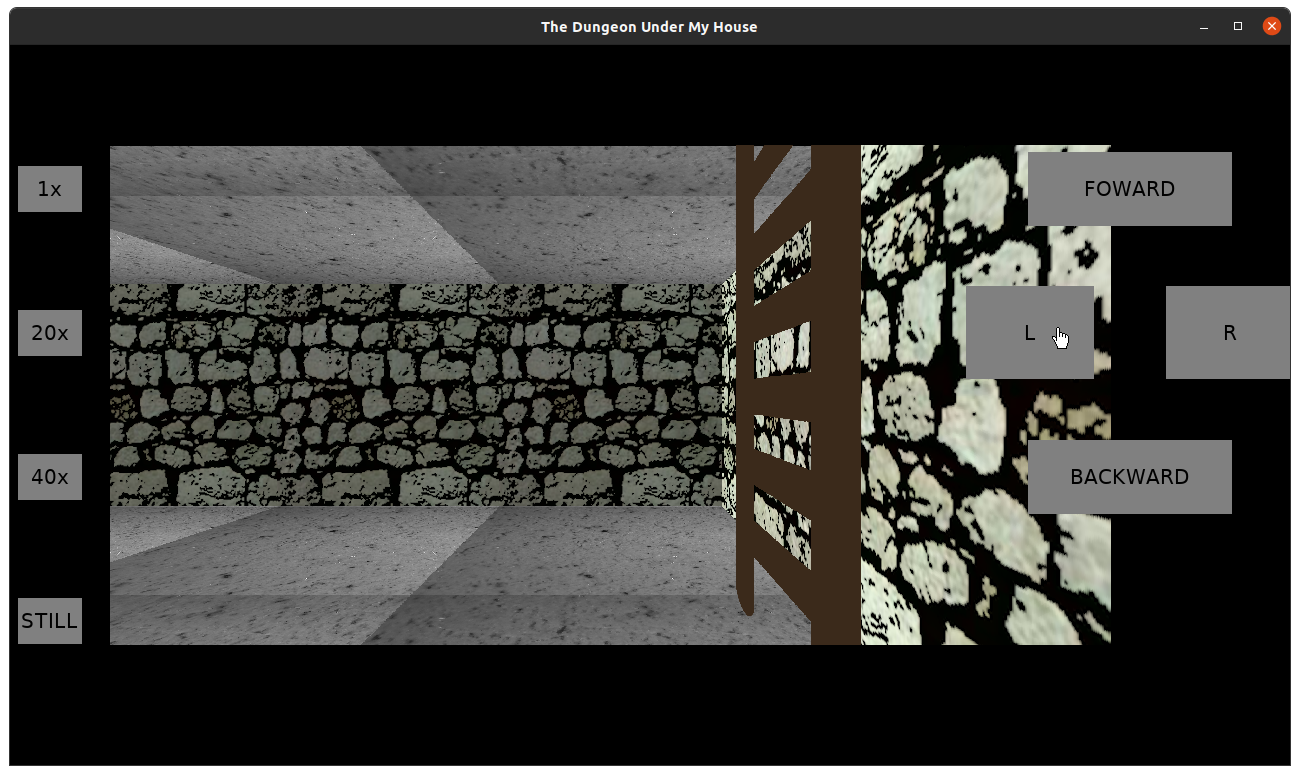
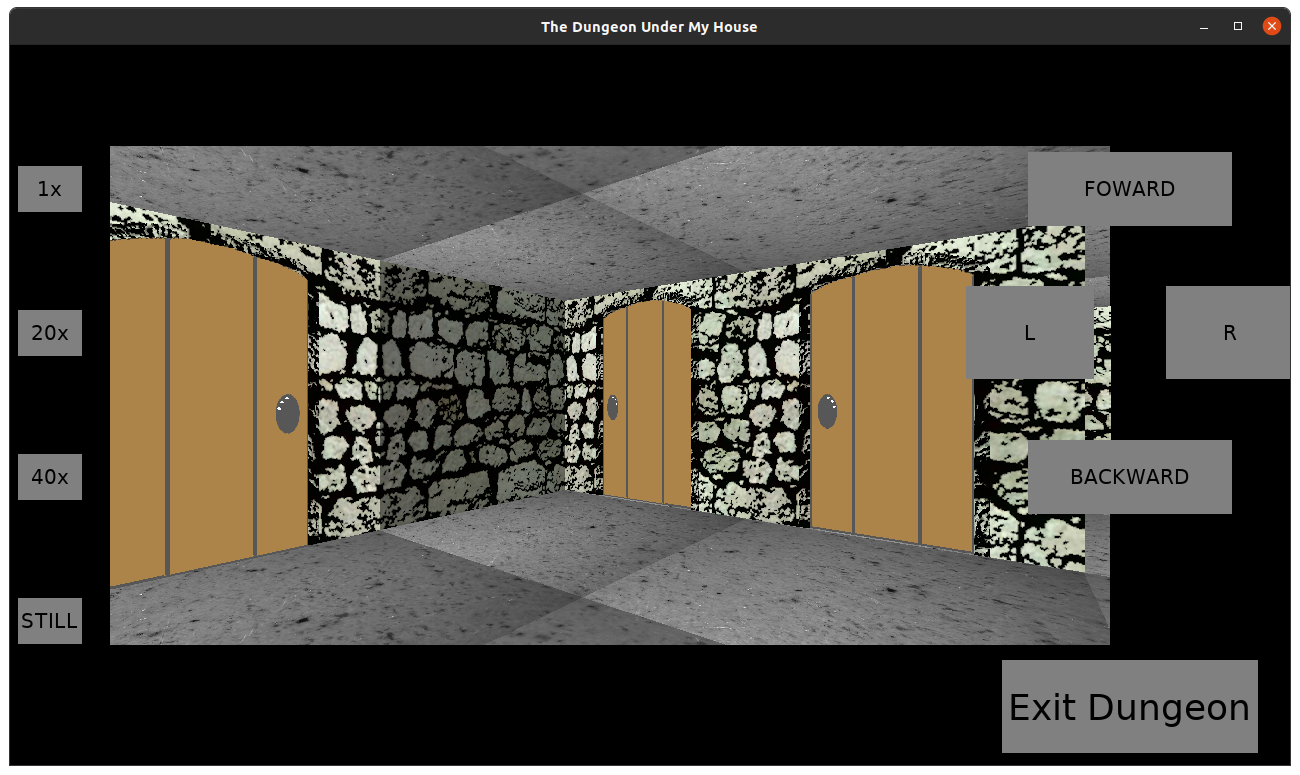
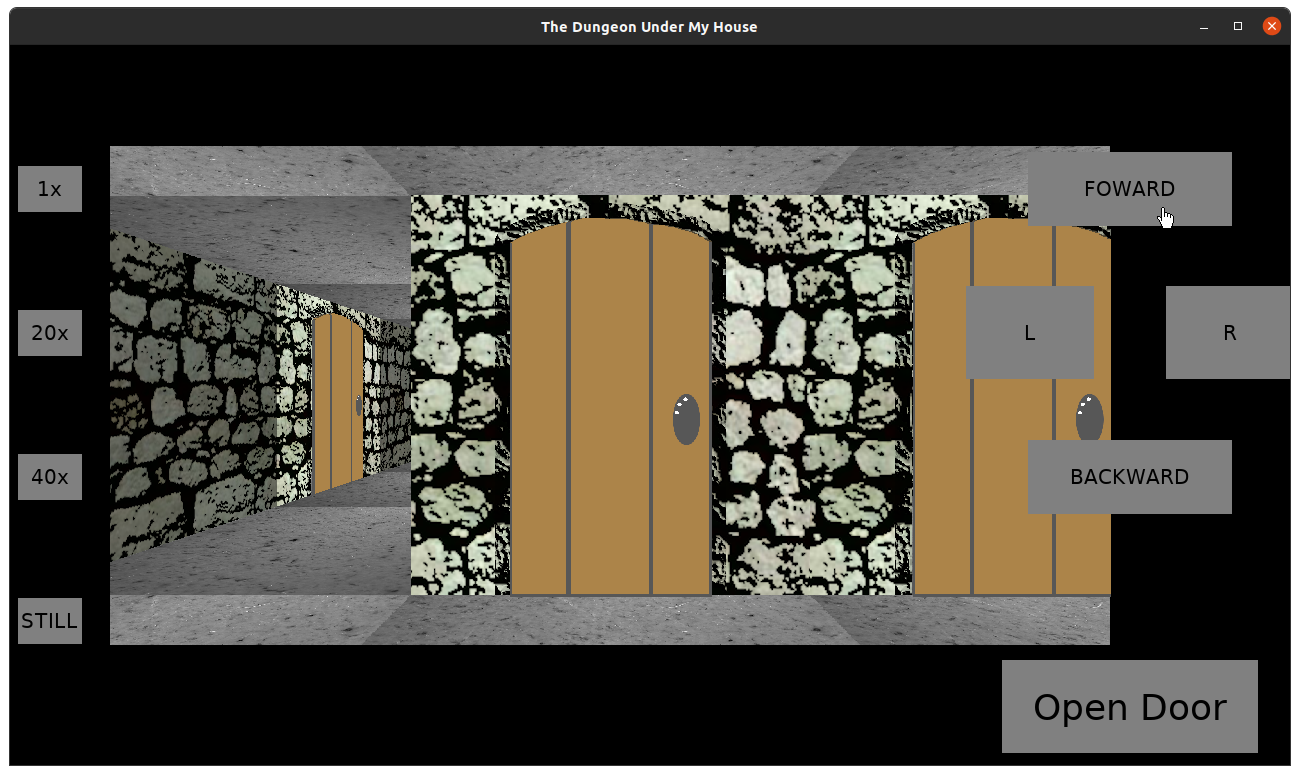
In last week’s report, I made it easier for me to playtest and improved the interface when in the house screen of The Dungeon Under My House, my second Freshly Squeezed Entertainment project.
I since set the work on creating a scripting system to get the intro going.
Sprints 26: Pre-production and initialization
Planned and incomplete:
- Create introduction script
I envisioned the introduction roughly as follows:
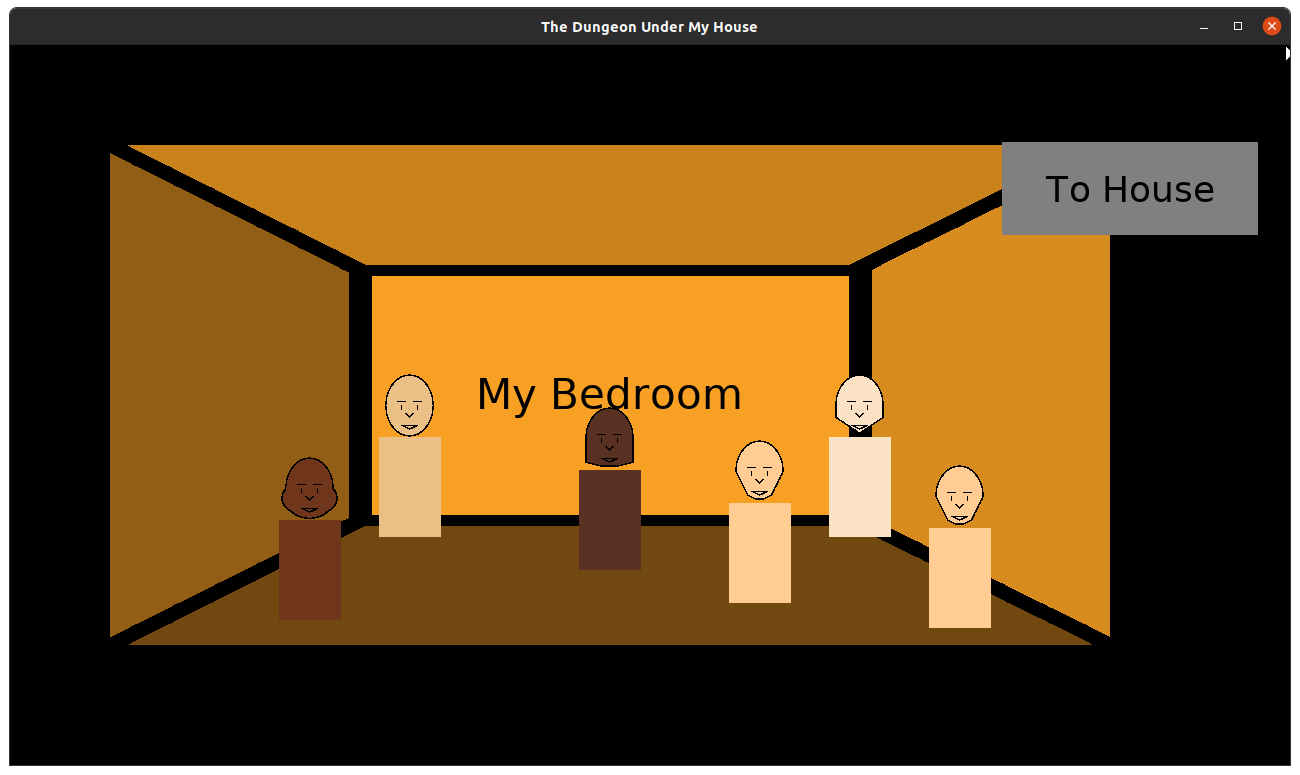
- Dialogue involving the player’s main character and their friends in the Explorer’s Club.
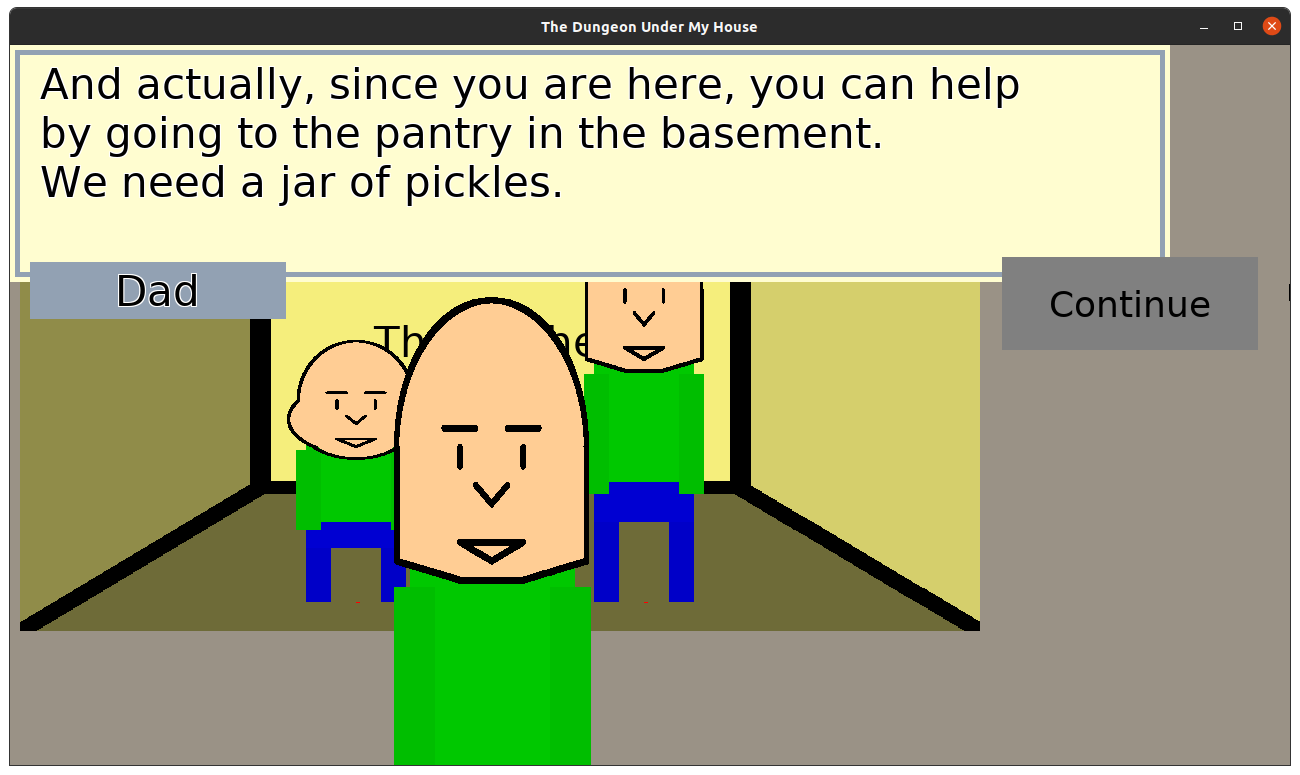
- Player puts together a party for 1st quest: go get snacks.
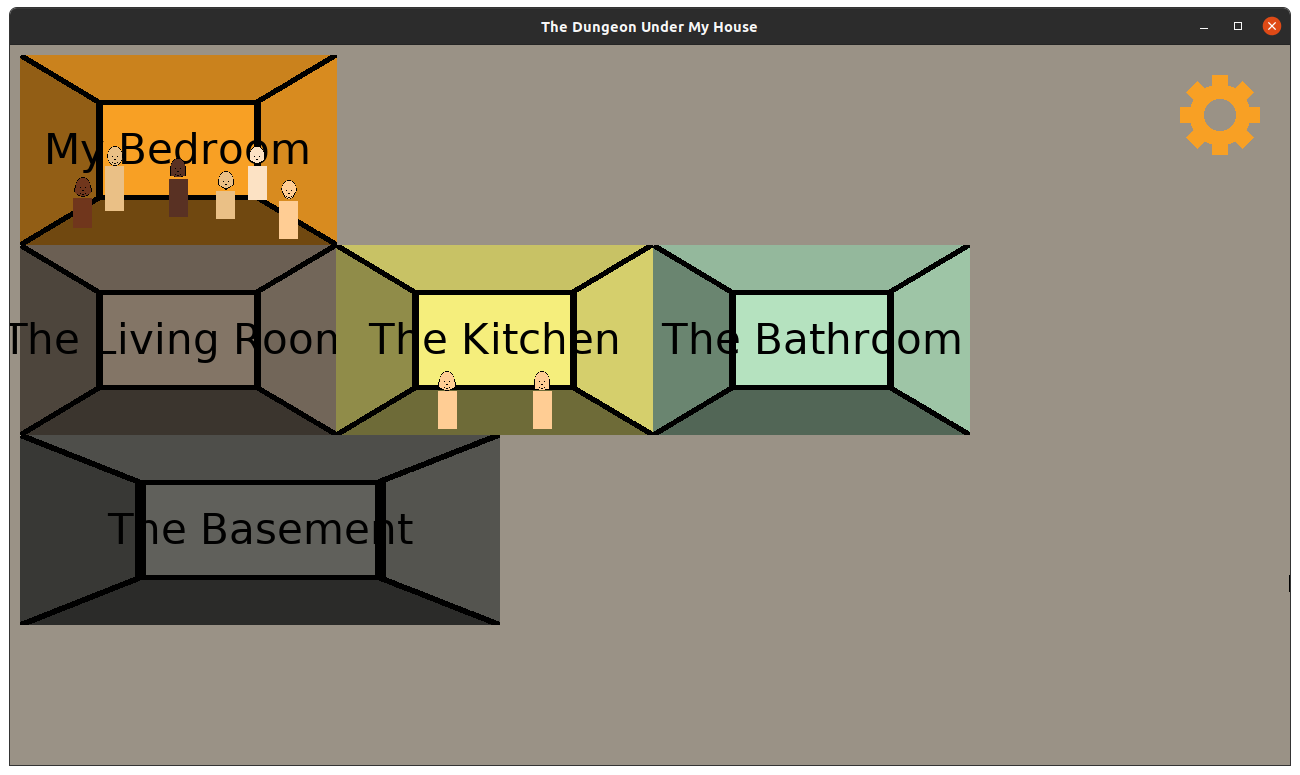
- Go to kitchen, have dialogue involving parents, who send party to basement.
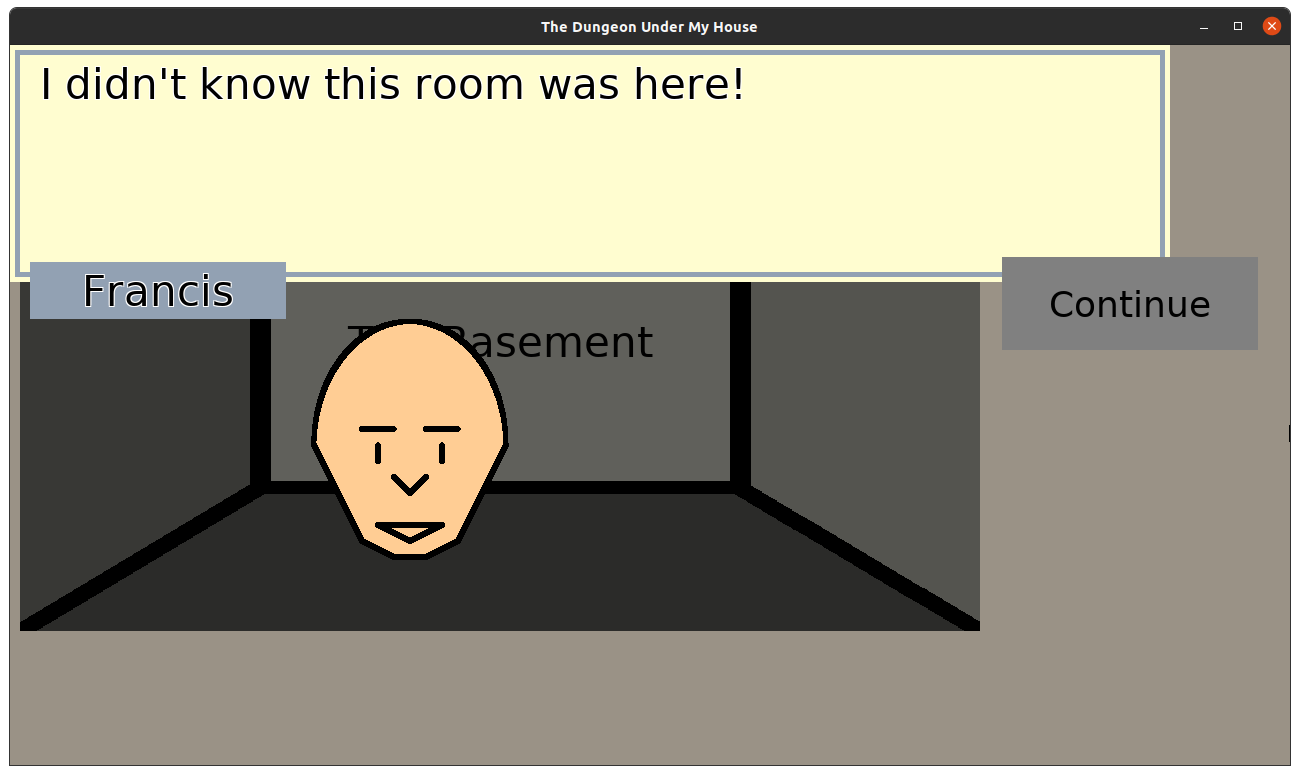
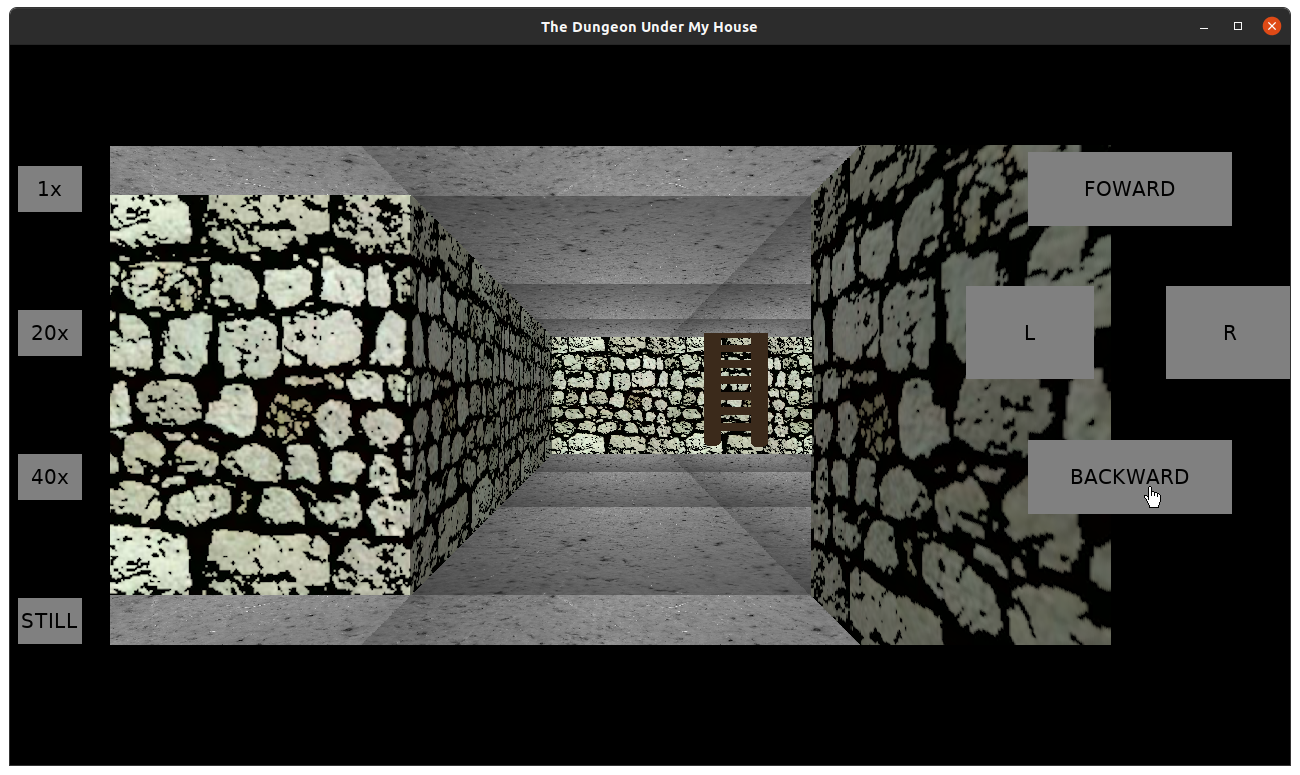
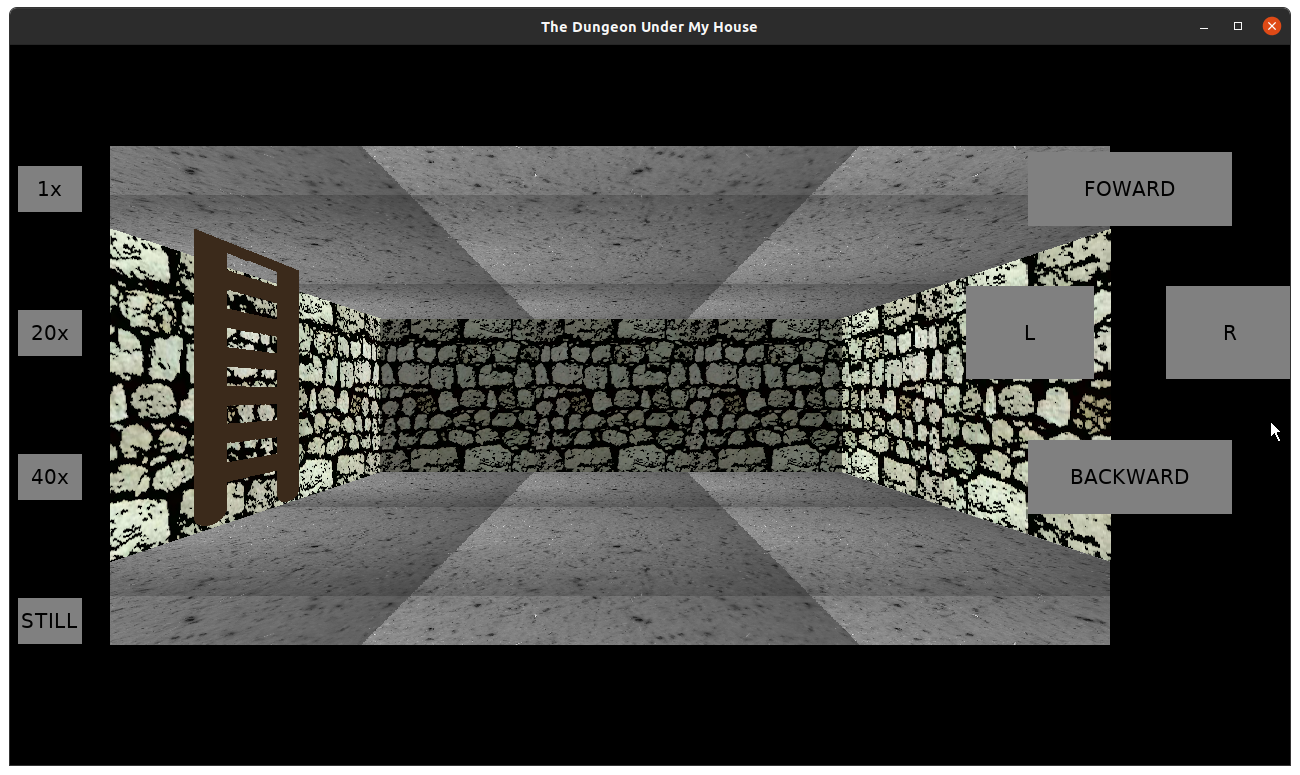
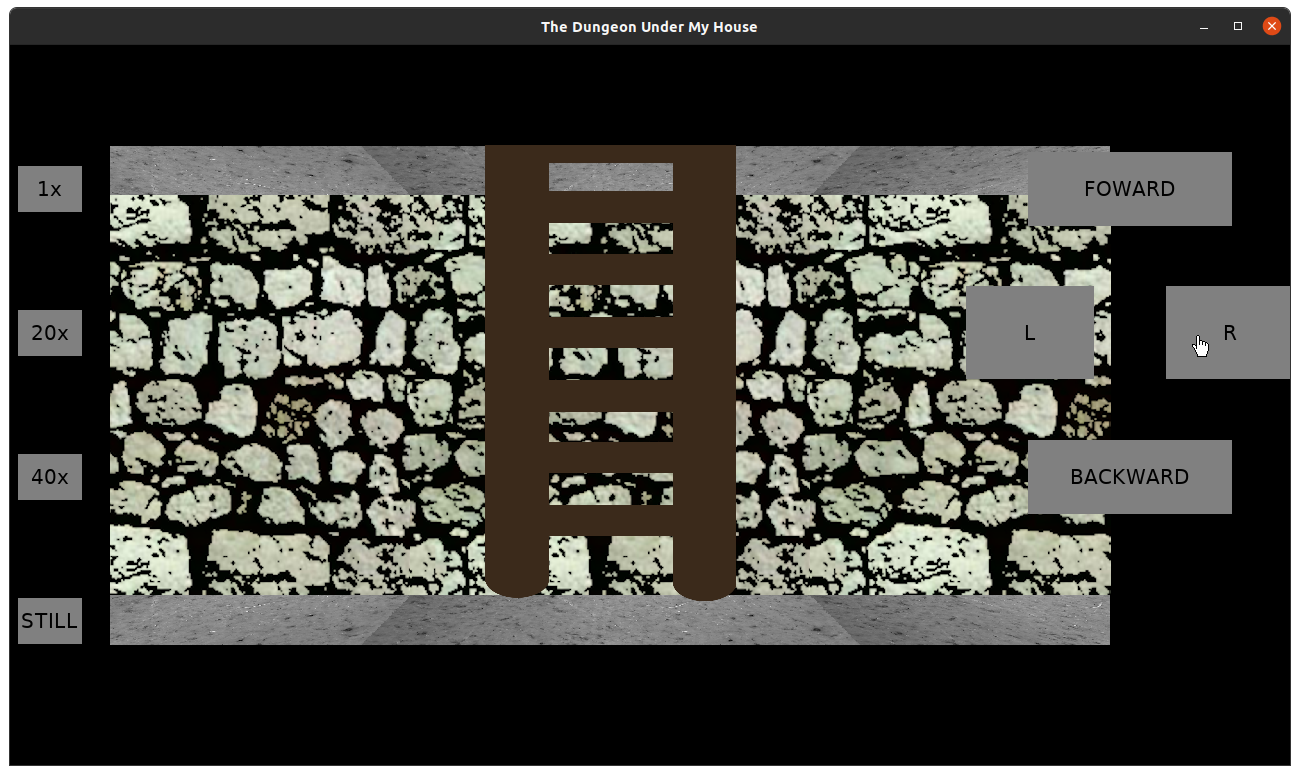
- While in basement, discover secret room with a secret ladder that leads to the dungeon.
To start, I needed to change from hardcoded scripts to something a bit more general purpose.
I created a few data structures to hold the text, the id of the speaker so I knew which character to render along with the dialogue box, and a collection of menu options. Those menu options would have commands that would run when selected, with “Continue” setting the next script ID as the current script.
That part was easy.
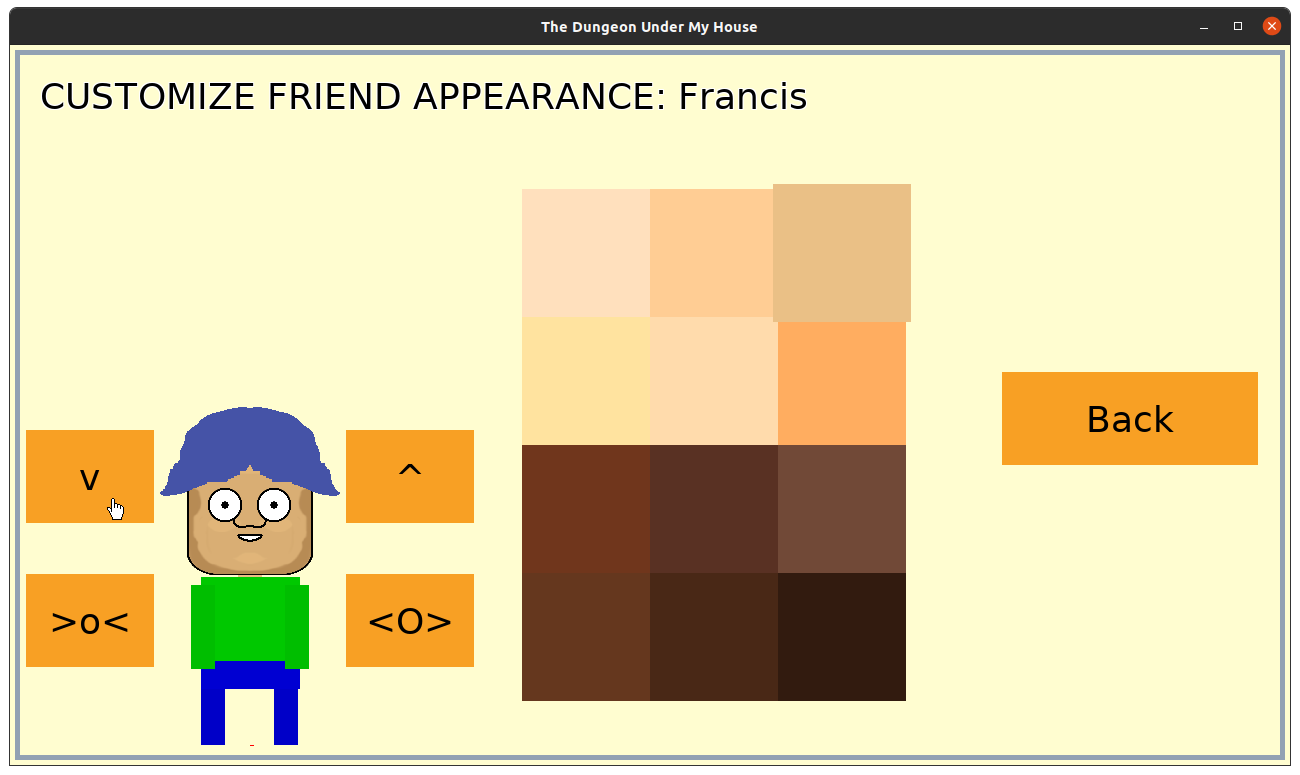
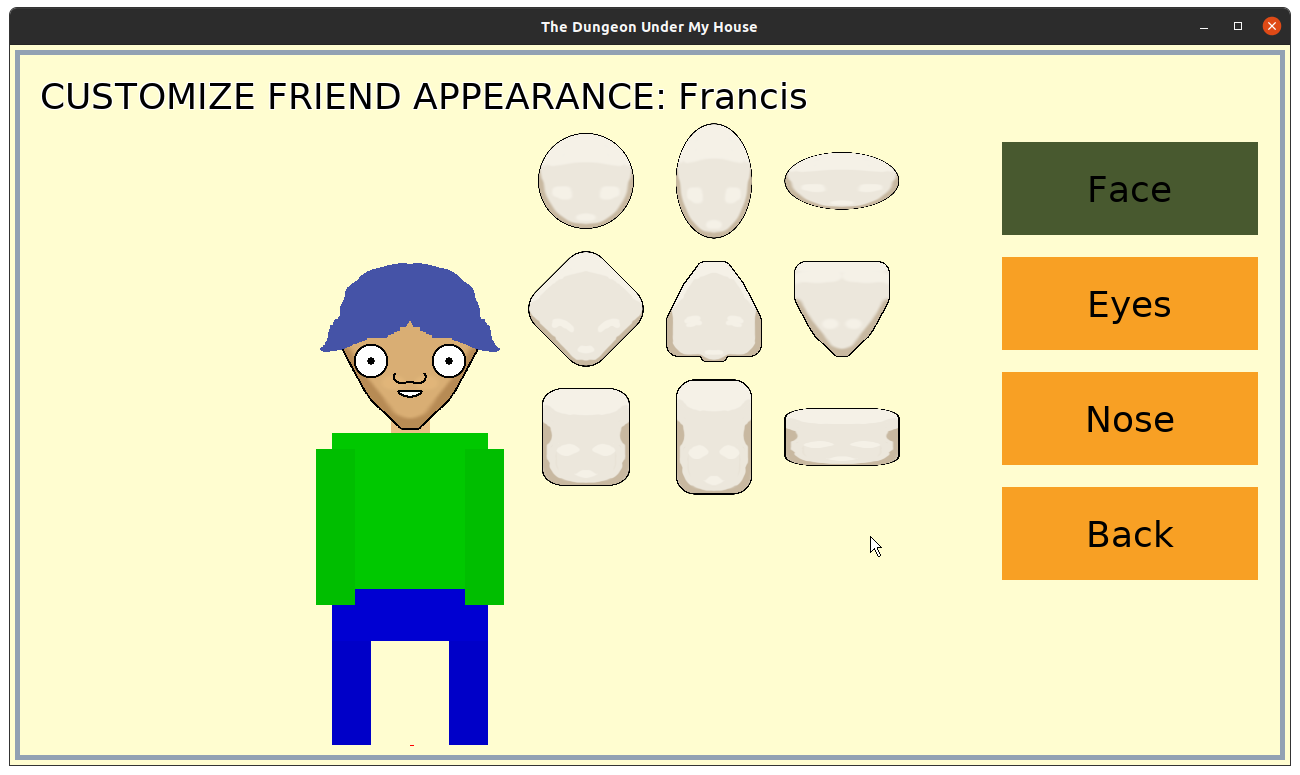
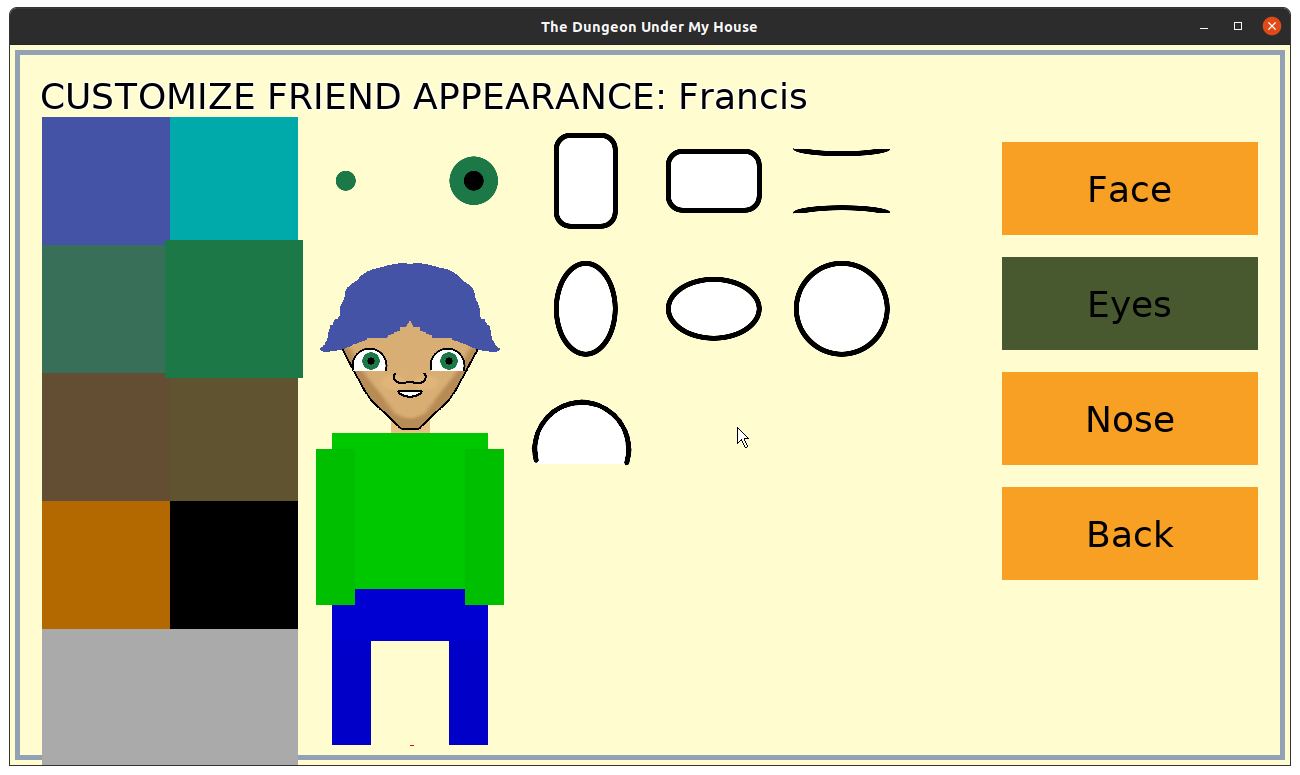
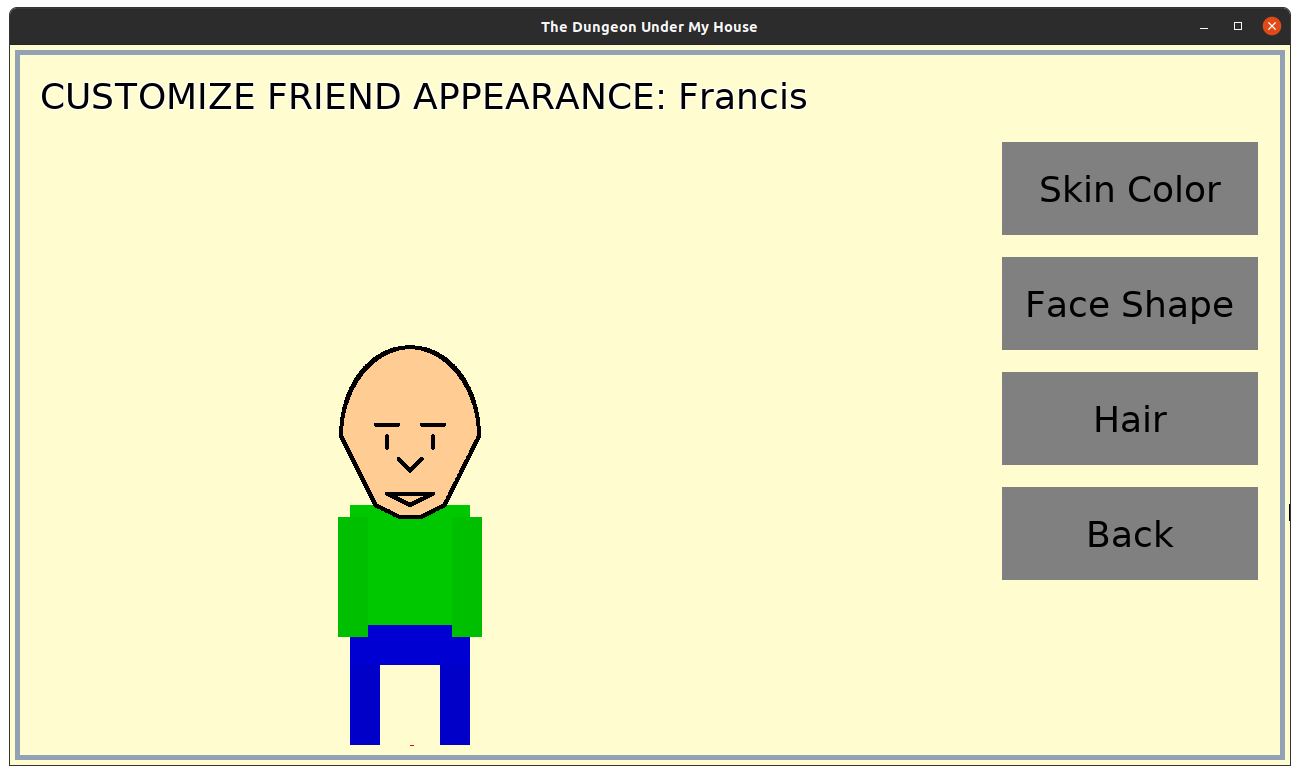
The trickier part was allowing the scripts to handle variables. Since I want the player to be able to customize the names and looks of the Explorer’s Club members, I couldn’t hardcode their names.
So instead of “My name is Francis”, for example, the script text is “My name is {{friend[0].name}}.”
I don’t normally do a lot of text parsing, so I wasn’t familiar with what text parsing utilities I could leverage. My plan was to keep it simple, using std::string and find() and substr().
If I wanted to separate the script into words separated by spaces, those functions would be great, but it seemed my code was going to be more complicated when using the curly braces and brackets. Was there something else I could do?
So of course as soon as I asked in a C++ IRC channel for advice, I thought of regular expressions, and by the time someone responded, they just confirmed I was on the right track with that line of thought.
What was really annoyingly helpful was that someone fed a similar question into a generative AI, and it popped out some code that was more or less what I was trying to write. In the past I’ve seen people share links to FAQs or forum posts, but this was the first time someone asked an AI and gave me the generated response. My initial reaction was to hate this new development in IRC question-answering, but I was very impressed with the results. The regex string the AI generated to match with the curly braces gave me a quick shortcut, so at least I didn’t spend too much time trying to create that regex myself.
In case you are wondering, the regex is “\\{\\{([^}]+)\\}\\}” and you can read it as “get me everything between the {{ and }}”. My initial attempts were nowhere near that string, by the way.
I wrote code to parse out the variable name, the array index, and the property name.
Once I had all of those, I could then throw it at a growing if-else statement for various variables I want to support. So in this case, I would see “friend” and check which array index and which property, and then the code would use std::regex_replace() to substitute the appropriate text.
So “{{friend[0].name}}” would get replaced with the result of gameData.getFriend(0).name, which is “Francis” by default, and “{{friend[0].nickname}}” would use a different code branch to use gameData.getFriend(0).nickname instead.
Besides “{{friend[]}}” variables, I also added support for “{{currentLocationName}}”.
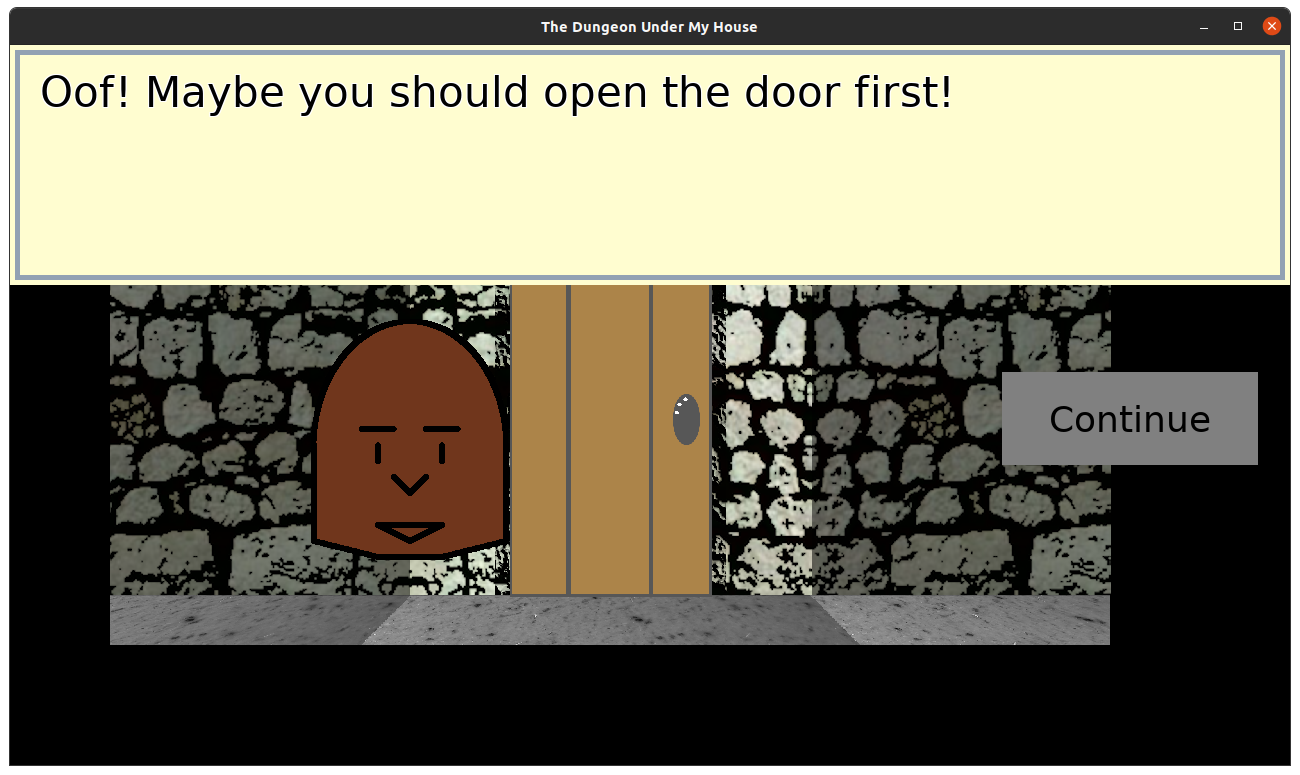
So now I have the ability to create the first part of the dialogue, with the main characters having an Explorer’s Club meeting. They are inducting a new member, and then someone suggests getting snacks.
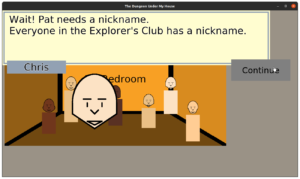
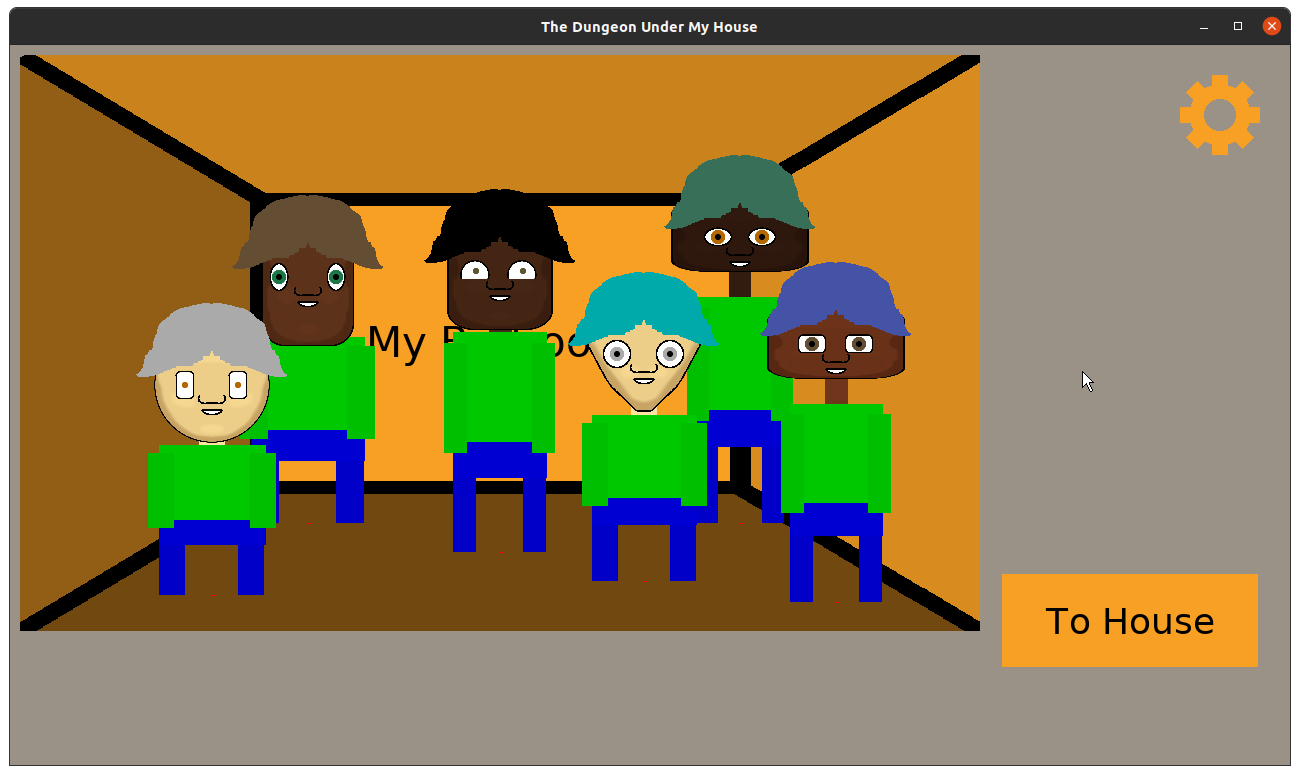
Oh, and now that I can show different people talking, I found it frustrating with this placeholder art to know WHO was talking, so I added a label that shows the character’s name.
Eventually I would like to create a “quest” system, so upon finishing this first part of the intro, you get a new quest, with an initial objective to go to the kitchen to ask your parents for snacks, and new objectives getting added to go to the basement.
But for now, I needed a way to start the second part of the intro. Going into the kitchen should start a dialogue with the parents.
So I started working on a trigger system. A trigger has criteria, such as the player being in a particular location. If the criteria is met, then the trigger’s commands should get processed.
I decided that triggers should be either active or inactive. This way, the game isn’t constantly checking all potential triggers in the game, and it will be easier to manage if I only have to worry about accidentally meeting criteria or debugging wrongly successful criteria on fewer triggers.
For now, I have the one criteria, which I can use to detect if the player has made their way to the kitchen. I still need to have a way to enable or disable triggers, process active triggers, and process a triggered trigger’s commands.
But that’s work for the coming week.
In the meantime, I have also been trying to create a prototype for the meaningful dialogue system I want to create. Instead of merely branching dialogue with “correct” or “incorrect” choices, I am toying with the idea of conversation threads based on topics. Threads can progress (instead of being static), can relate to other topics, and can be “loose” or “tied off.”
What if each time you talked to an entity in the dungeon, you could pick up where you left off in your conversation, rather than get a stock response each time? What if that entity is actually interested in you, and so it isn’t enough to simply read some text and dismiss it. You have to answer, and your answer matters. Being dismissive might be an option, but the consequence is that you are seen as dismissive. On the other hand, if you are enthusiastic or deceptive or get caught in a lie, there would be other appropriate consequences.
That’s what I’m going for, anyway. I know I’ll need to prototype this part and try to create something enjoyable and feasible. I anticipate needing a LOT of writing to make this work well, but I want the focus to be on the game play rather than the text.
Thanks for reading!
—
Want to learn when I release The Dungeon Under My House, or about future Freshly Squeezed games I am creating? Sign up for the GBGames Curiosities newsletter, and download the full color Player’s Guides to my existing and future games for free!